The Process

Urushi tree being tapped for its sap, the lacquer
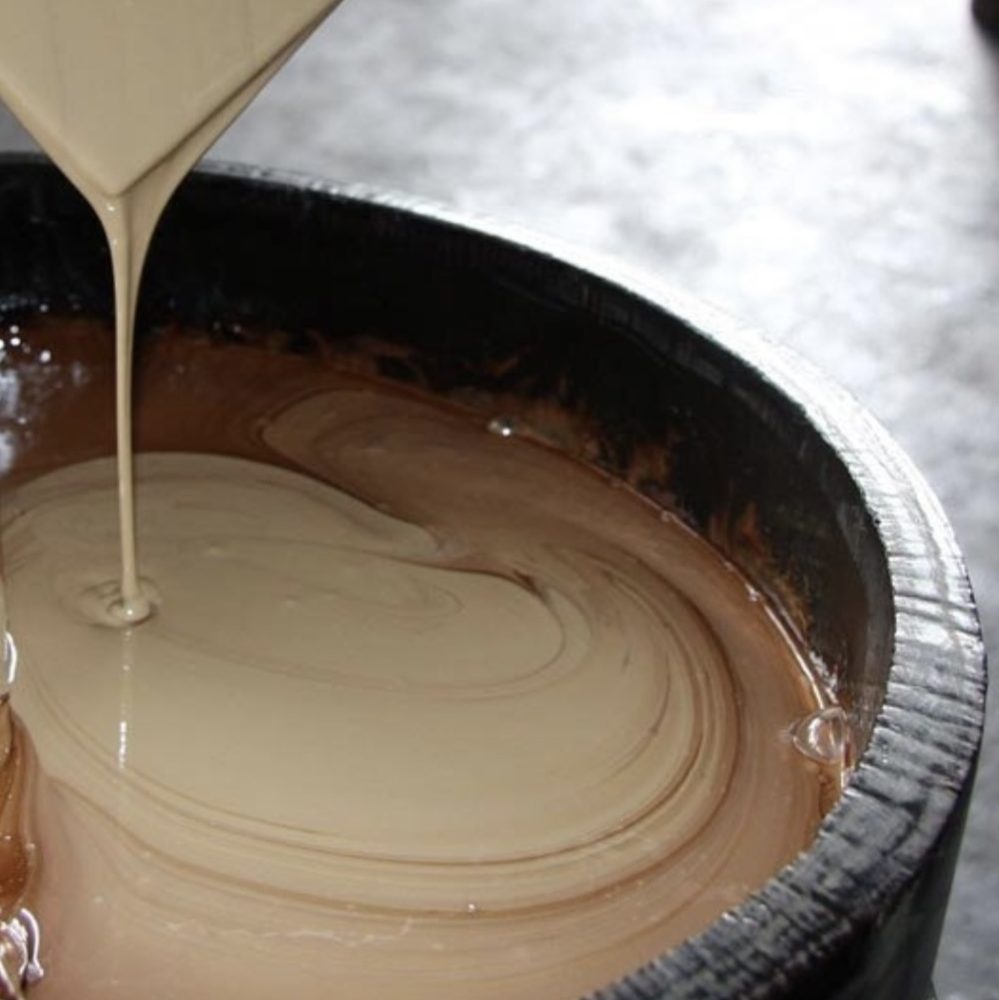
Raw urushi lacquer
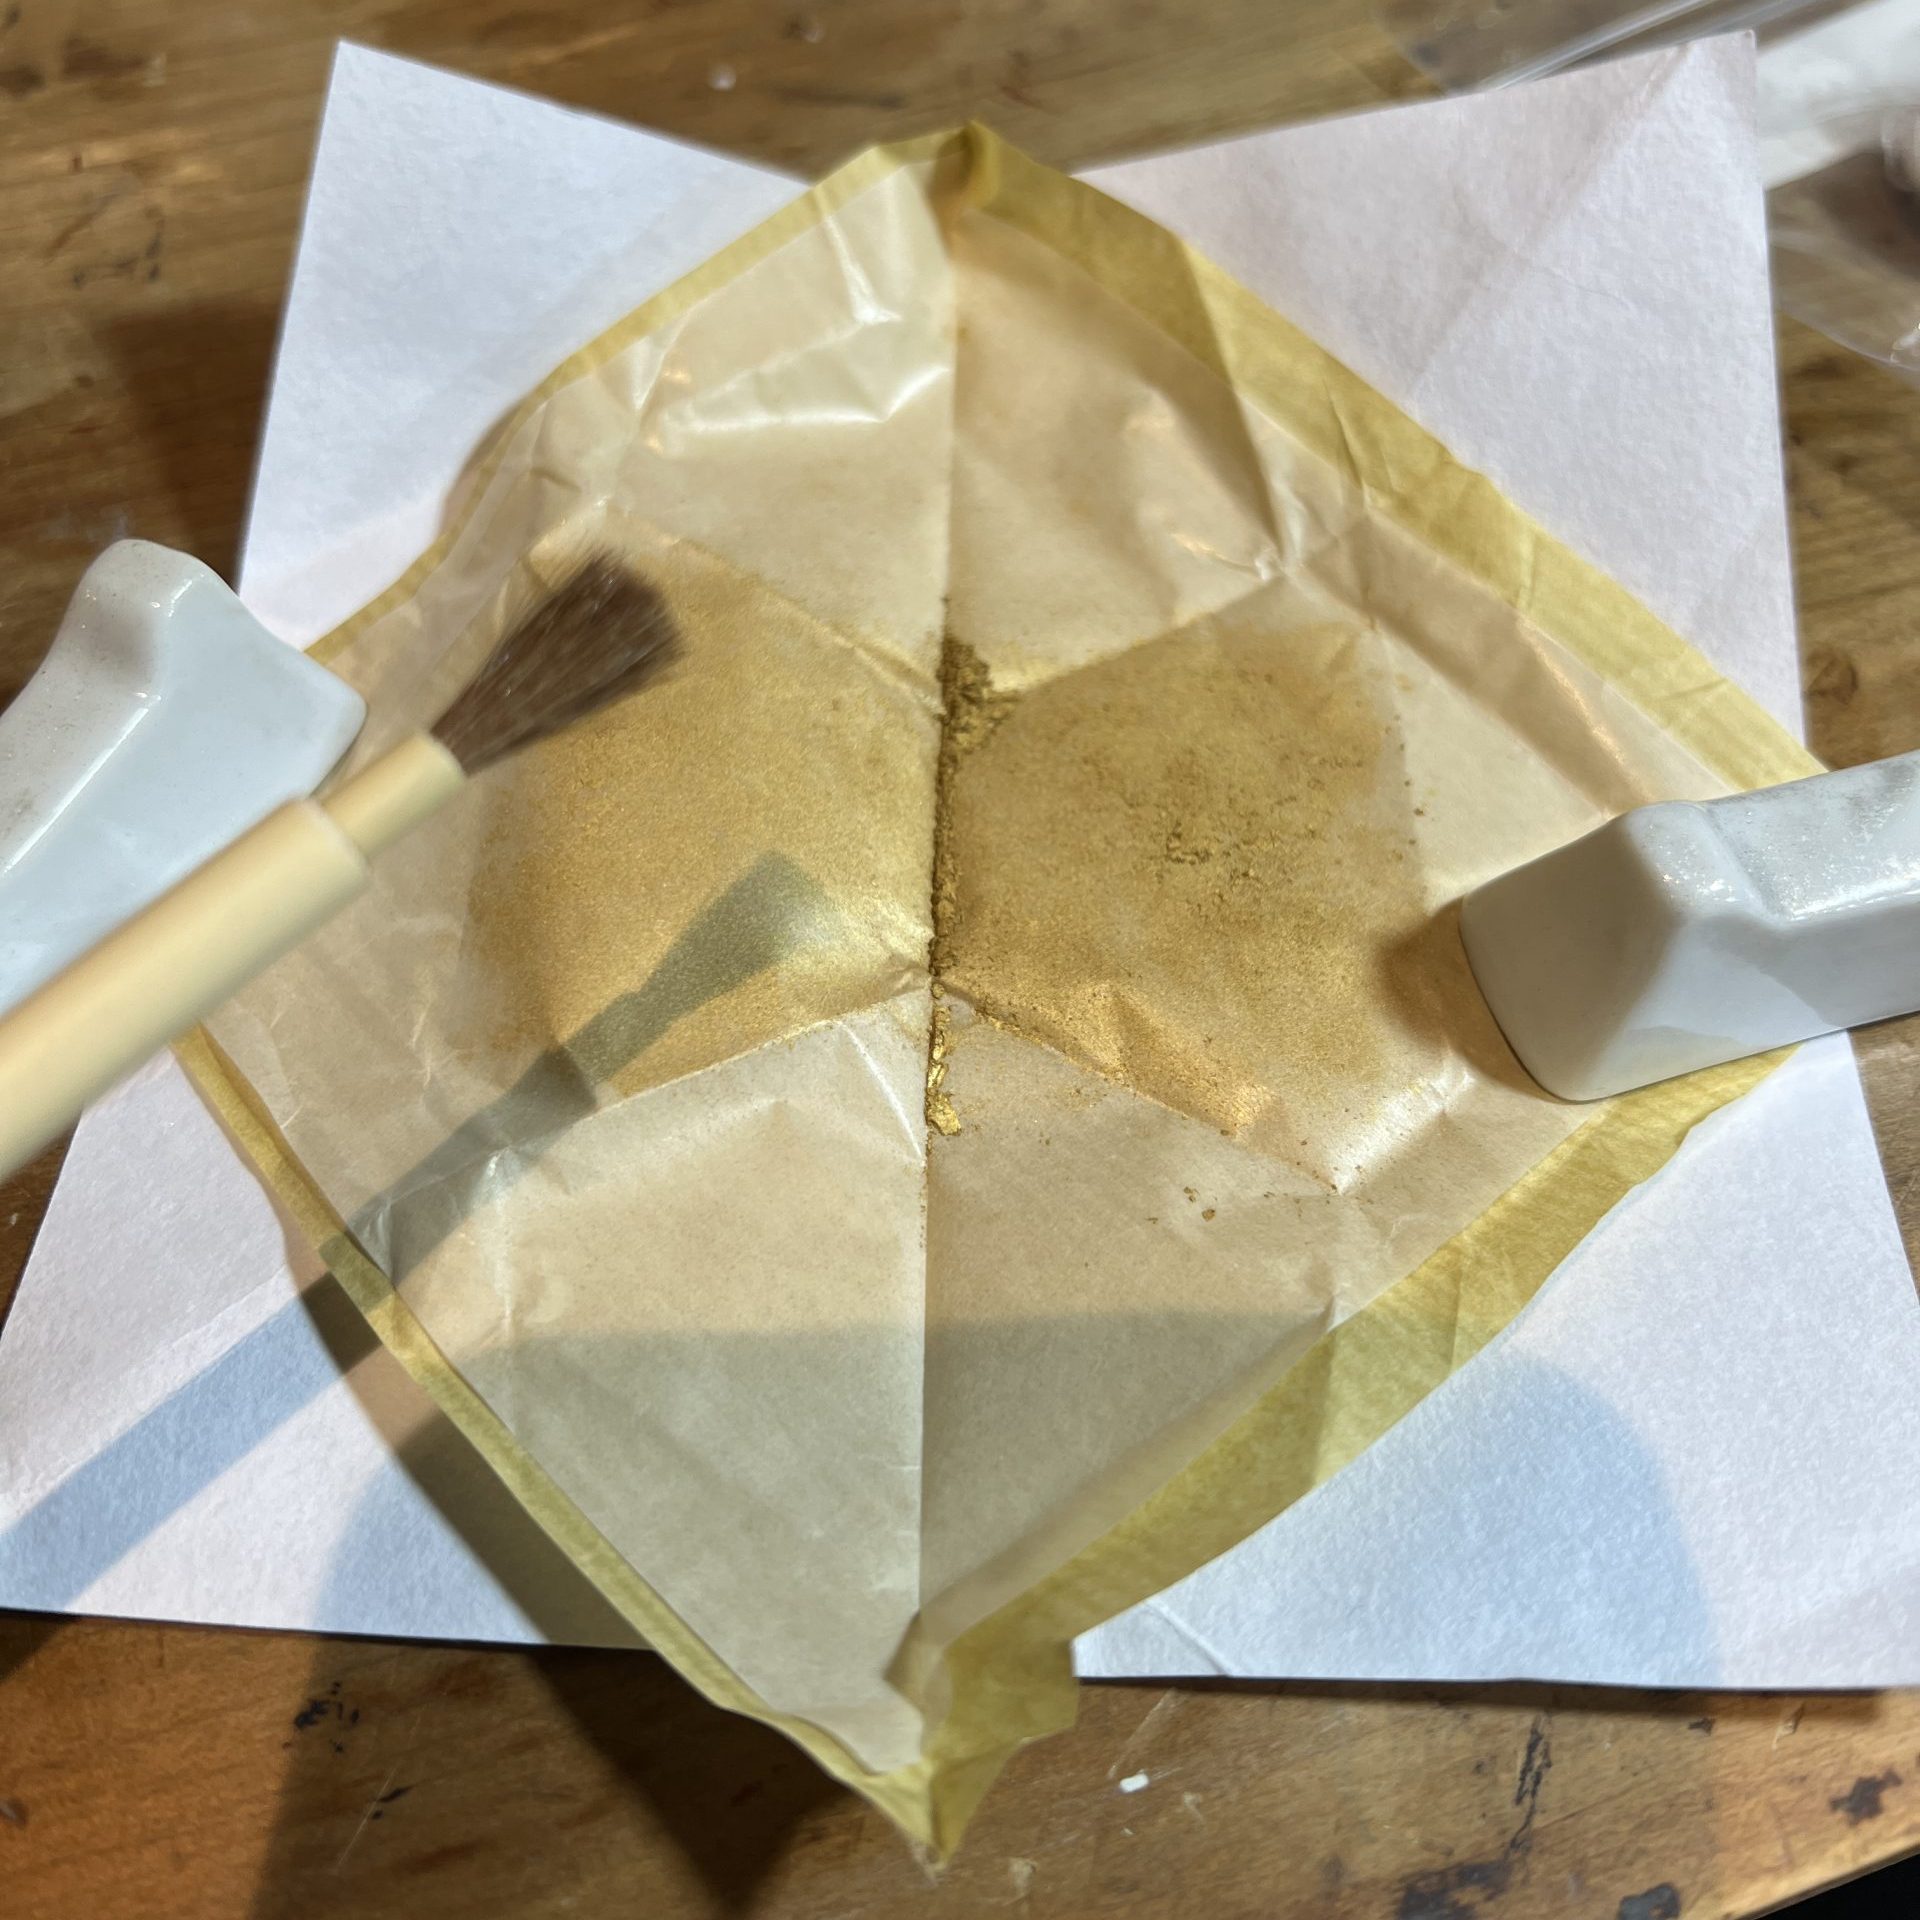
Pure gold powder, ready to be applied over red urushi
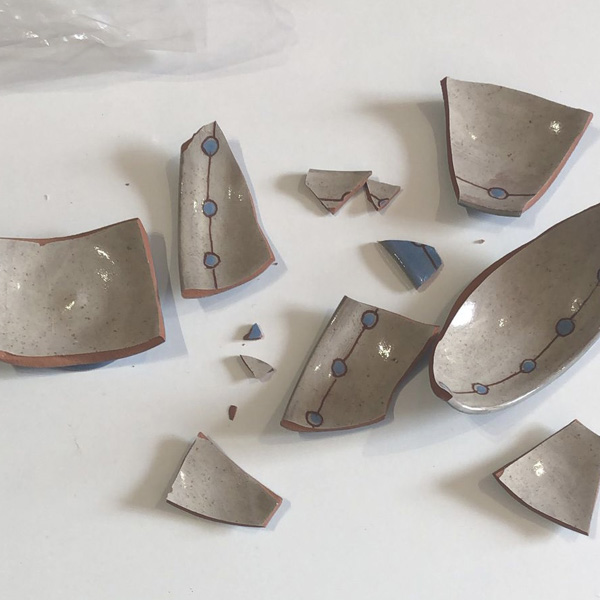
Broken little bowl
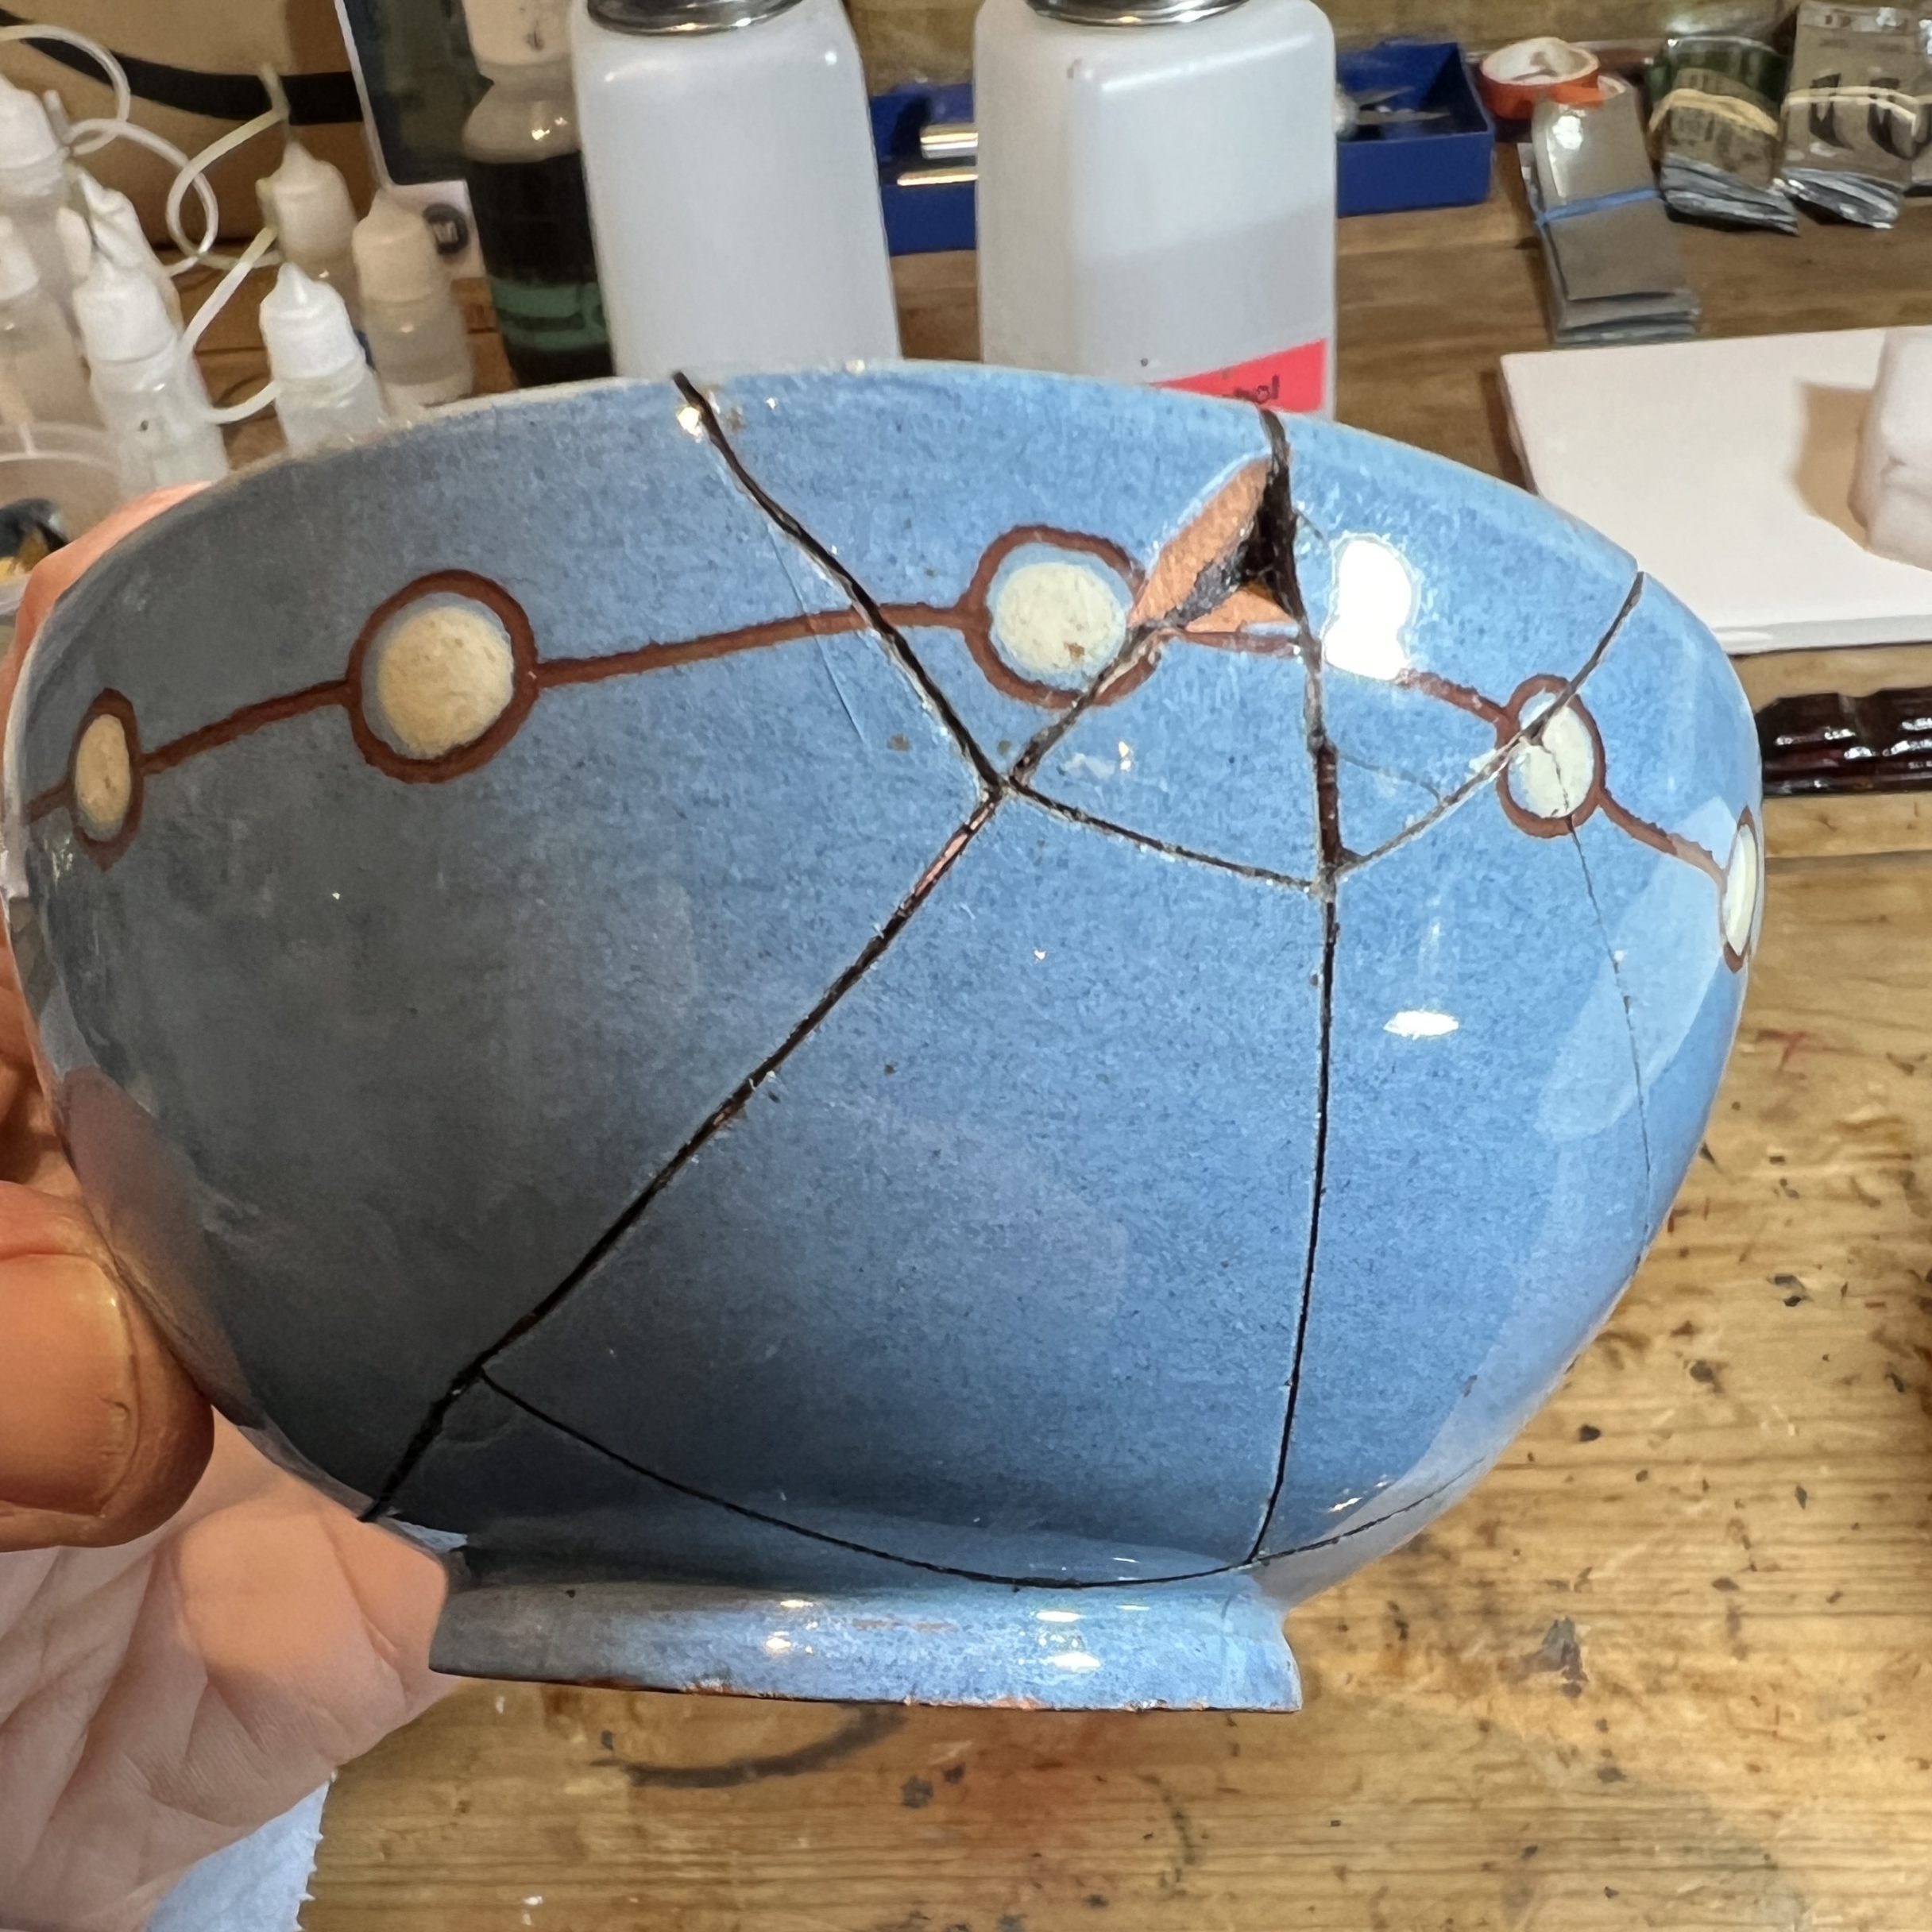
Glued with mugi urushi
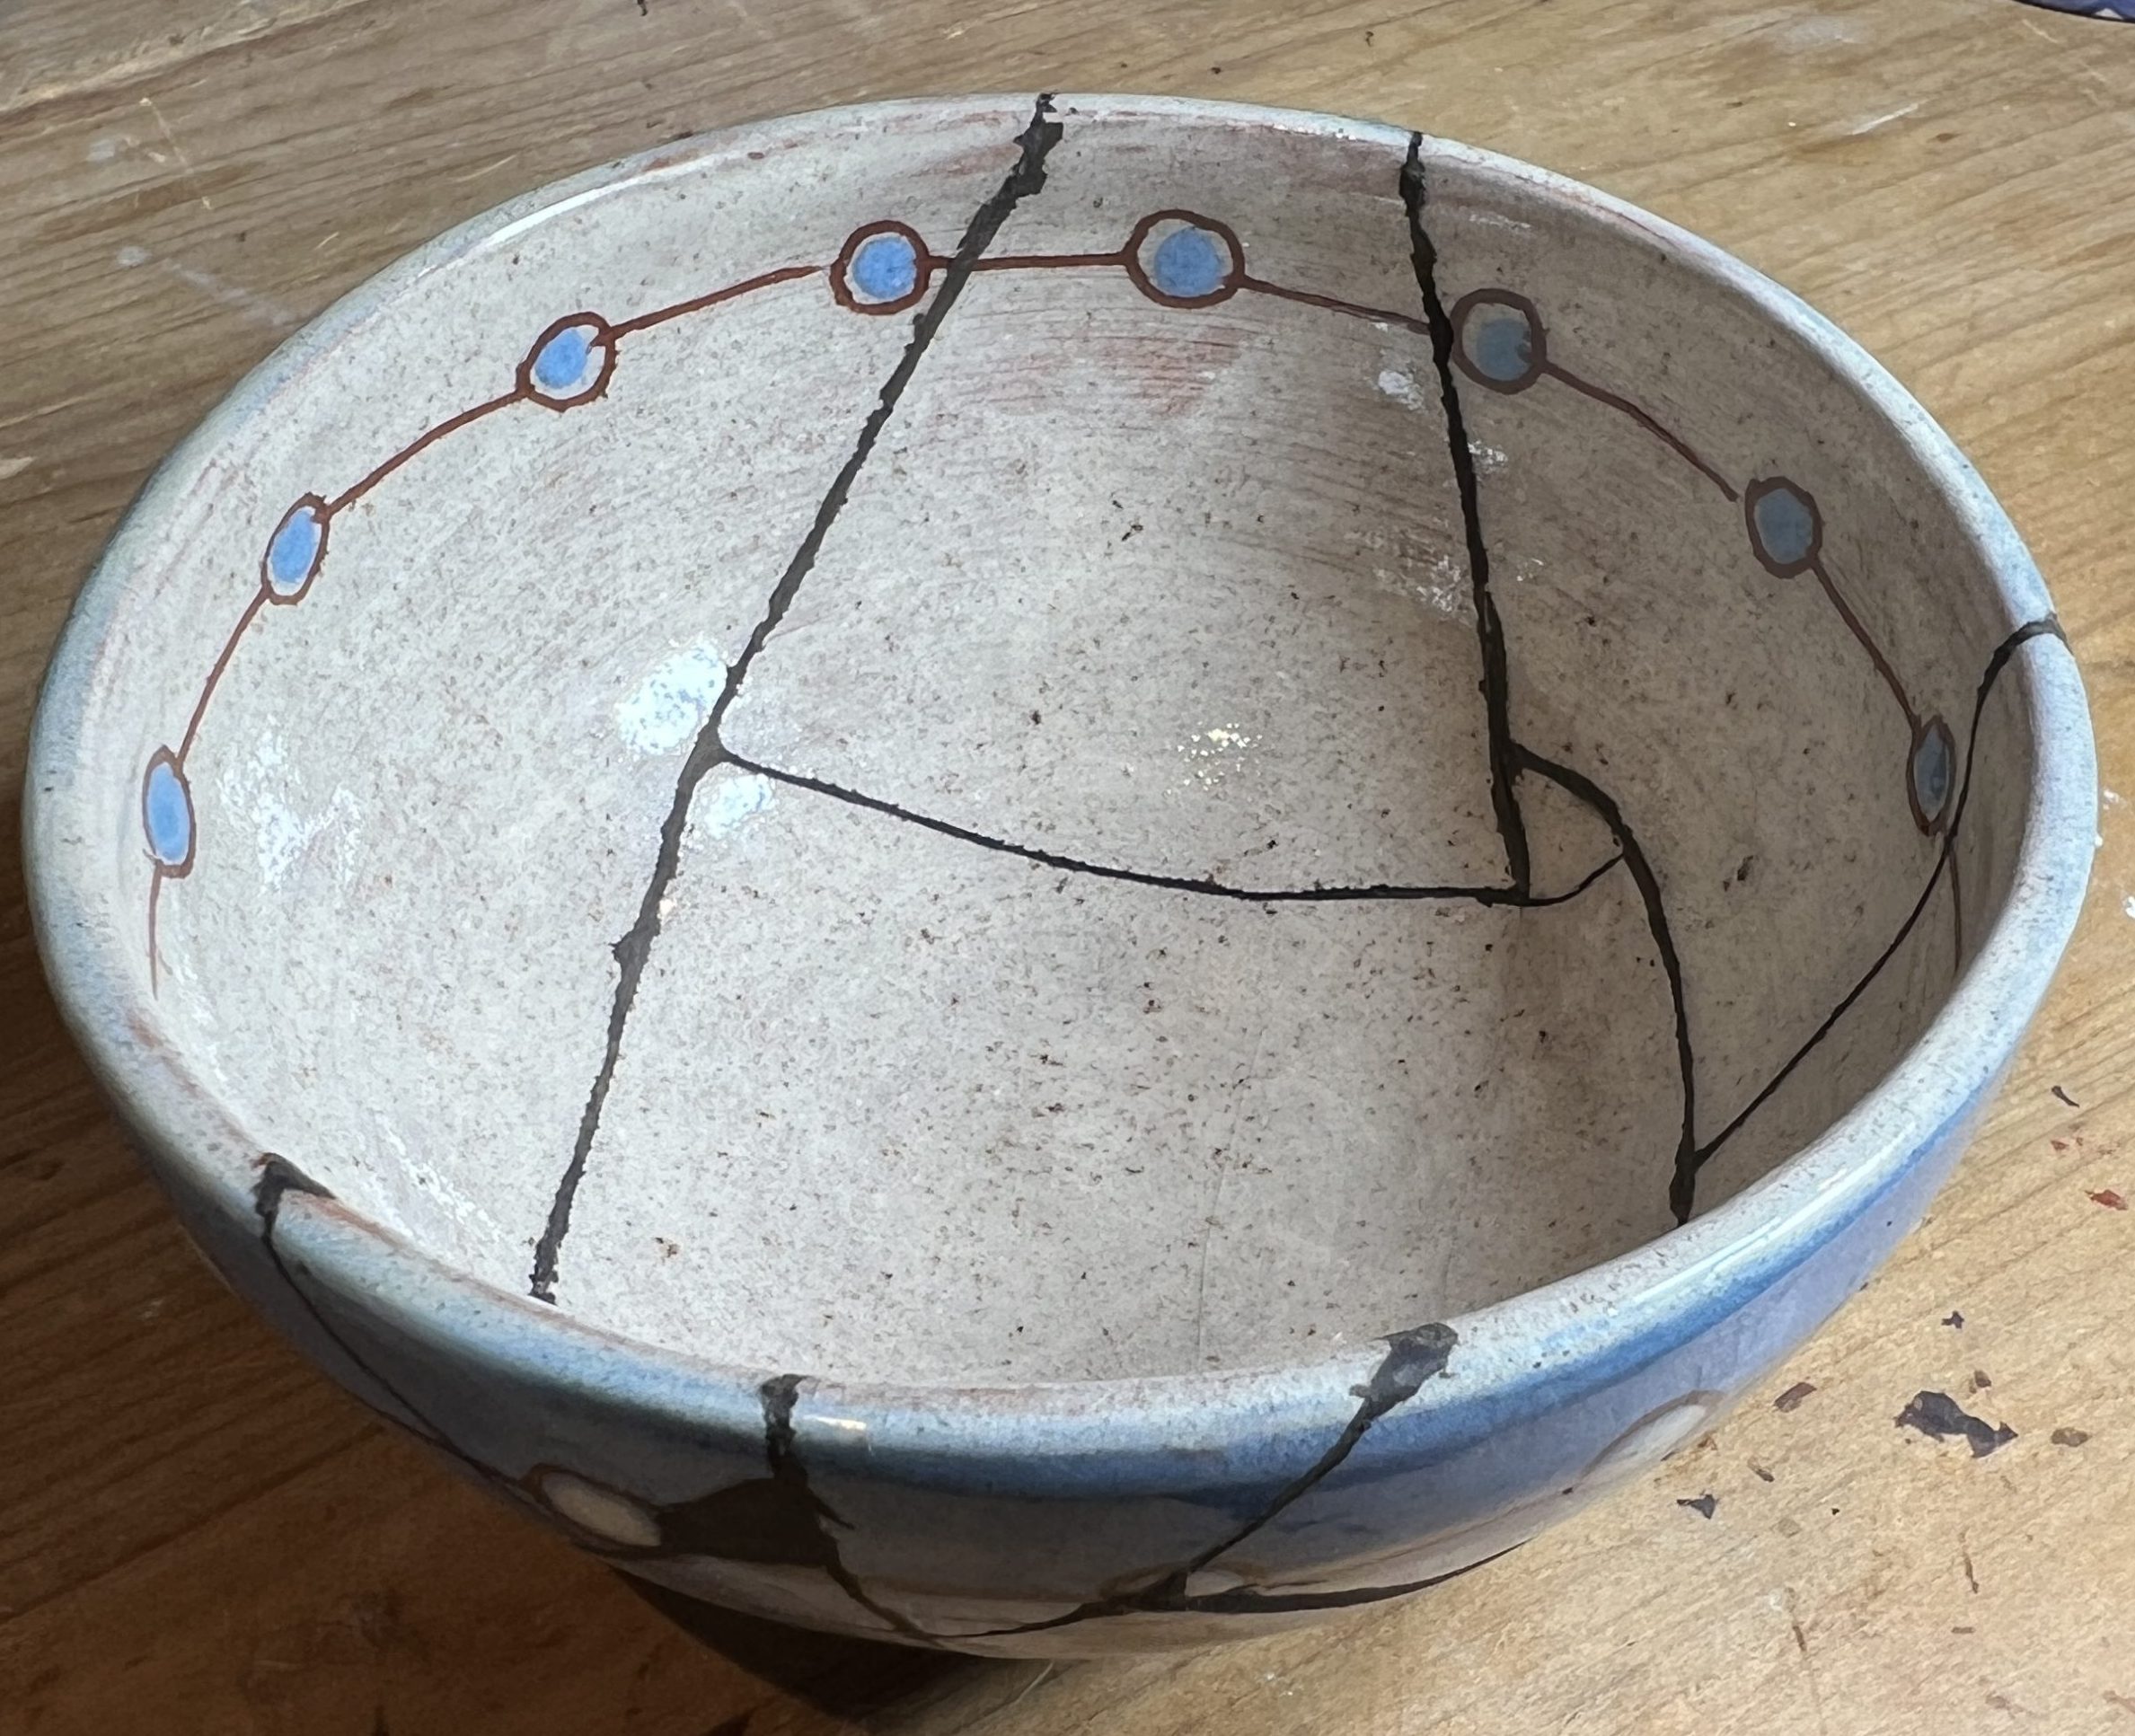
After glueing with mugi urushi, start to apply sabi urushi, to fill the uneven seams where the pieces are glued together
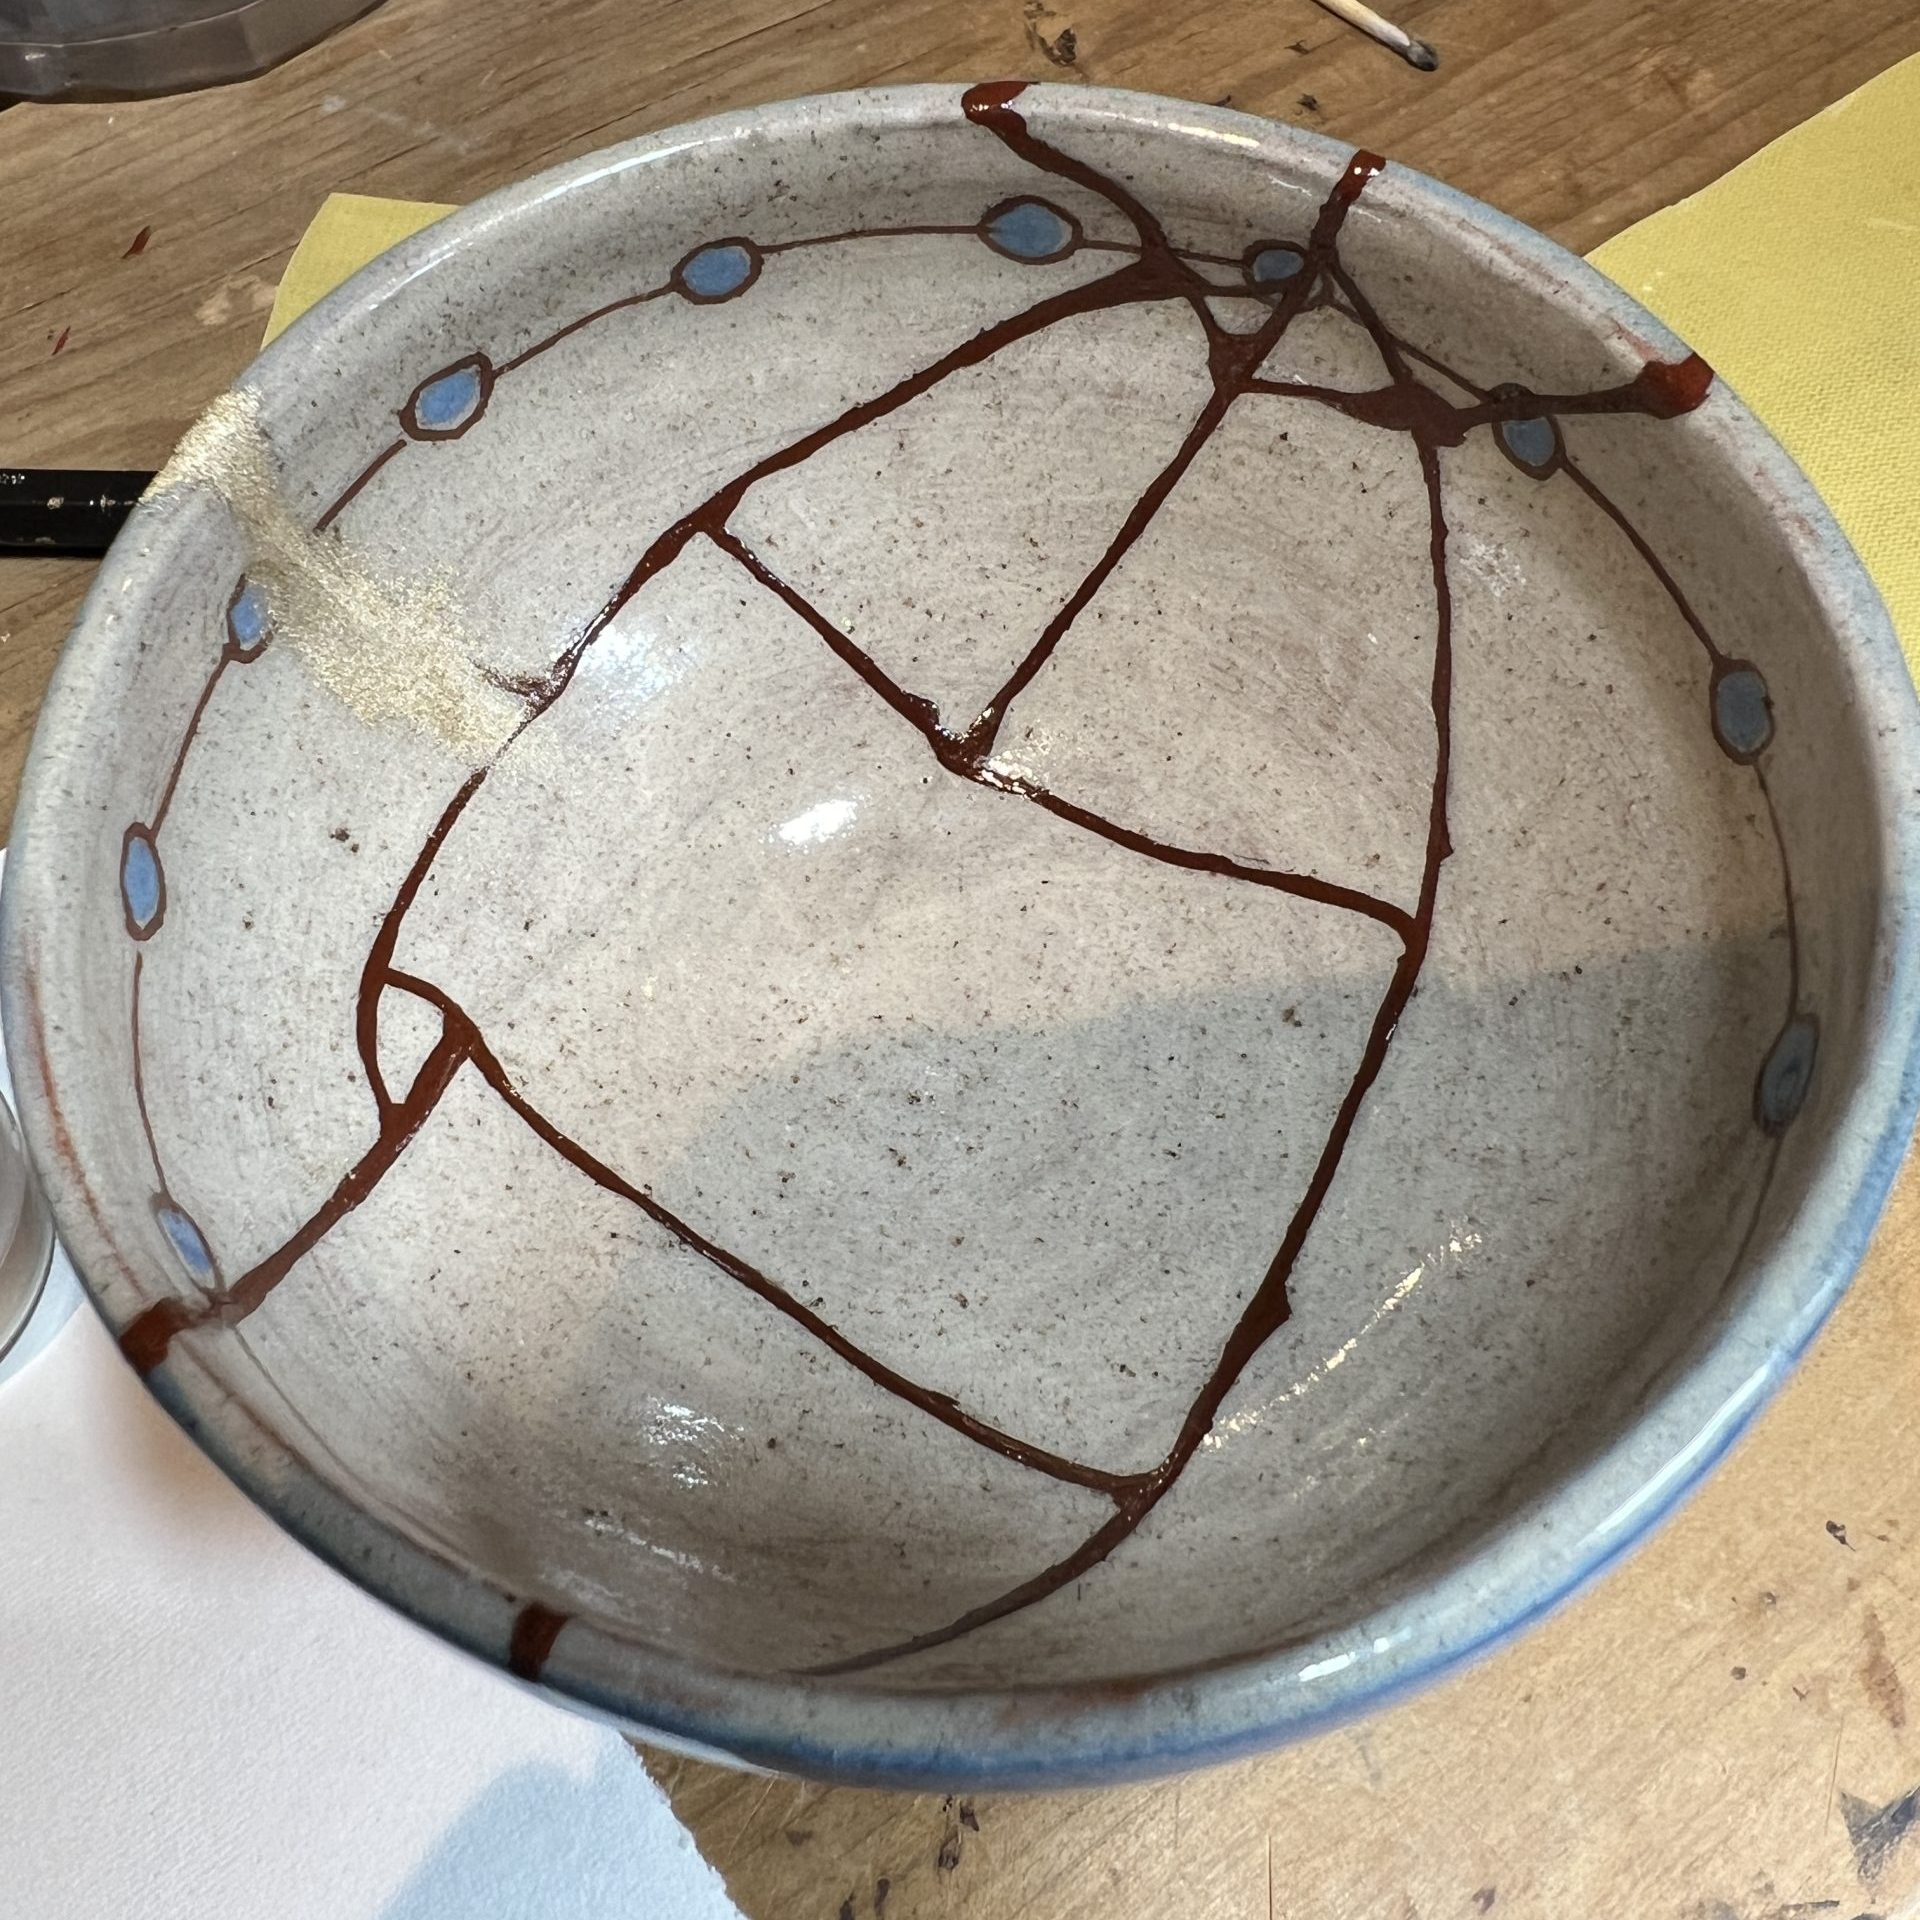
Starting to apply bronze gold [brass] over final layer of lacquer - red is always the final colour of lacquer under gold or brass
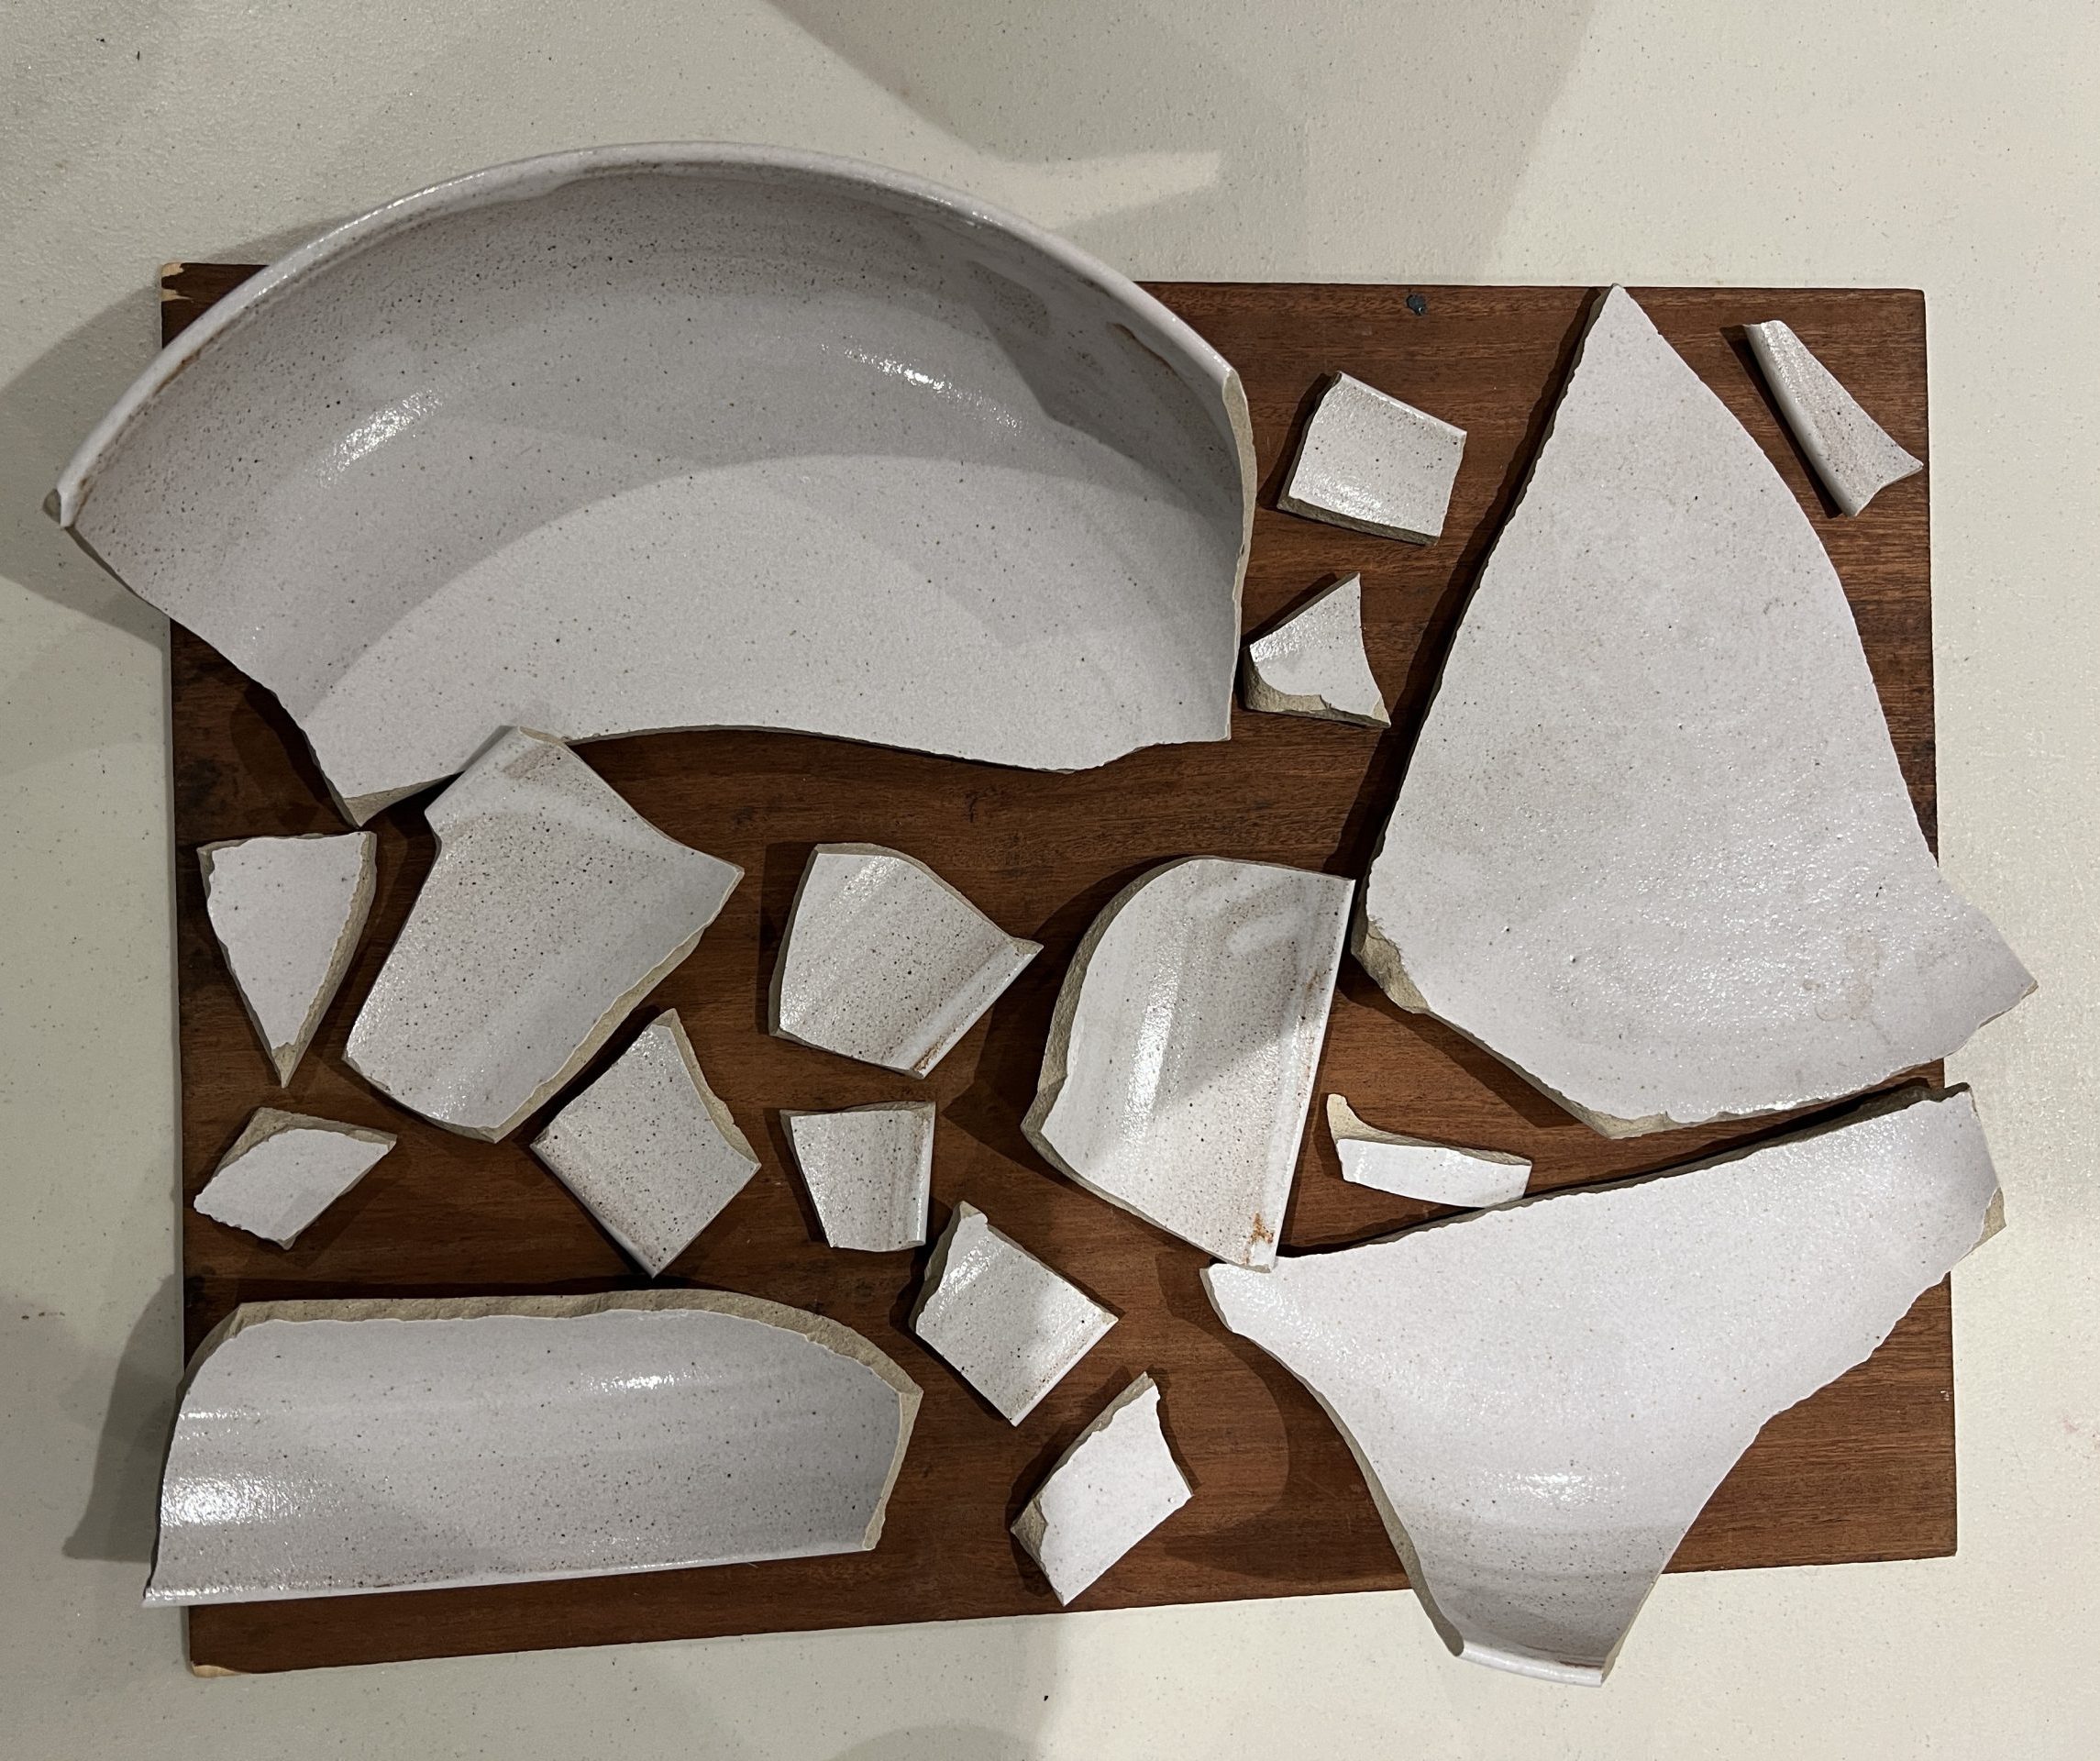
Beautiful bowl made by Pottery West - sadly broken.
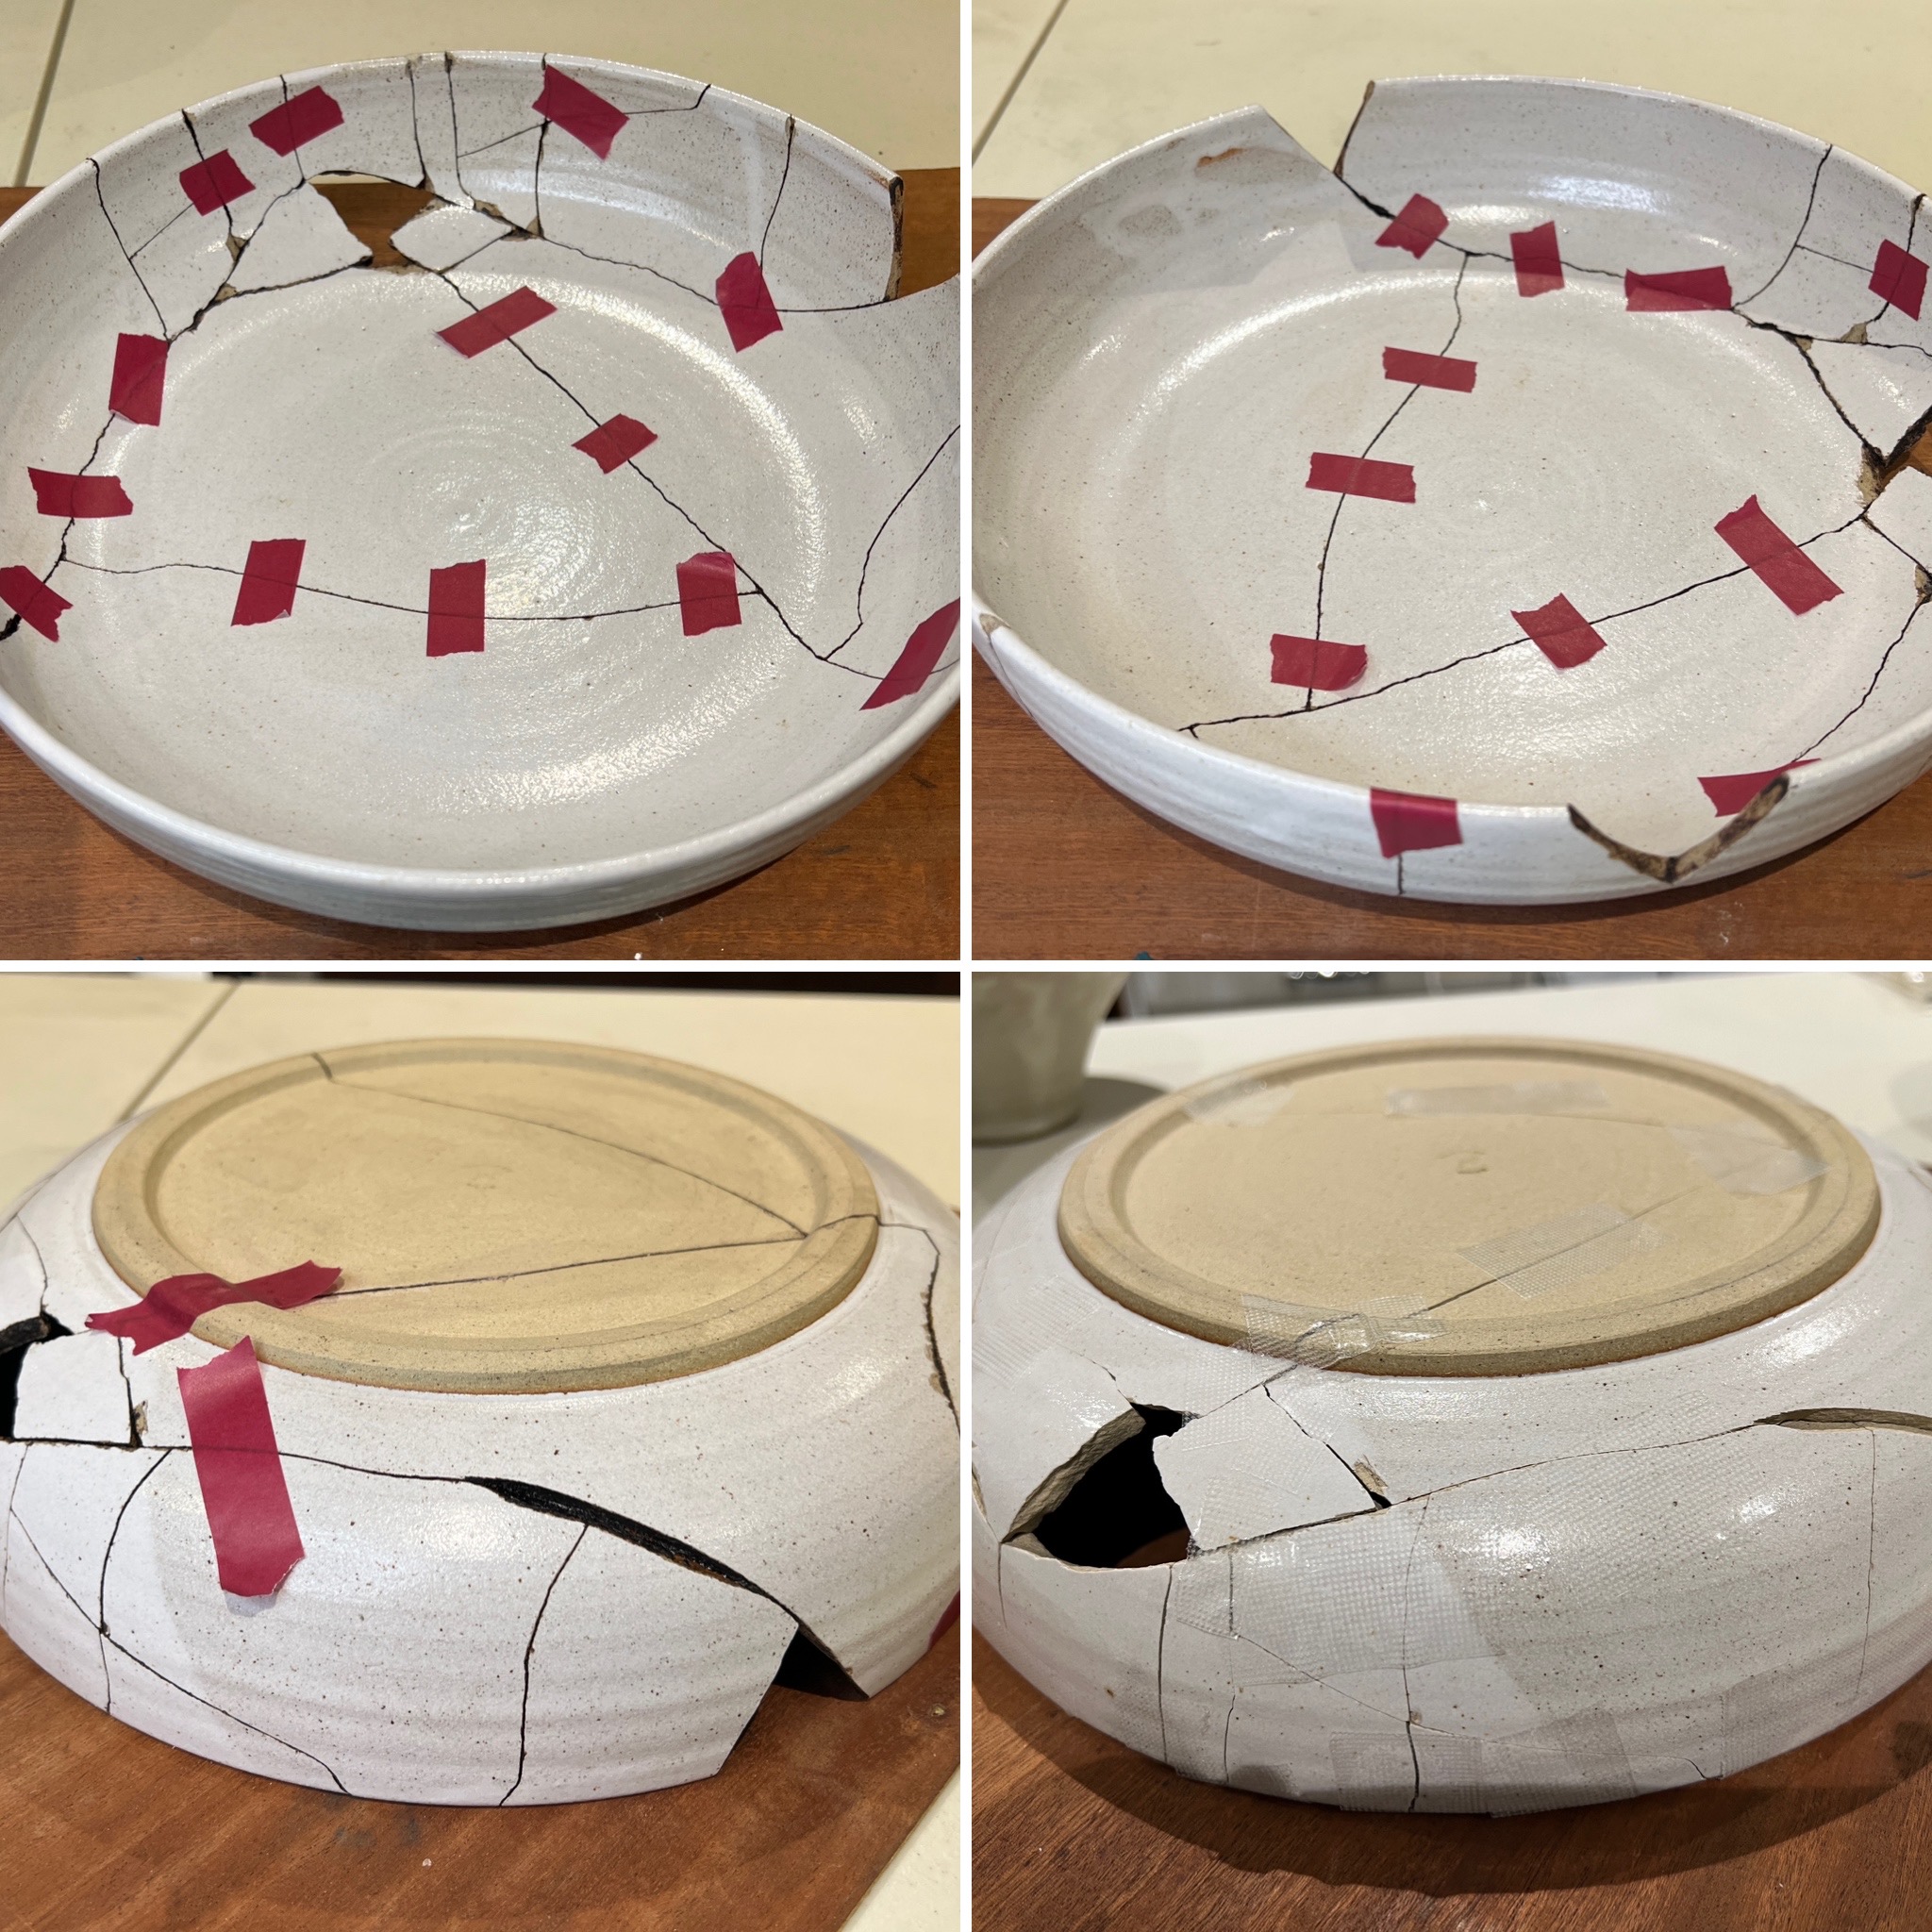
Glueing the broken bowl by Pottery West
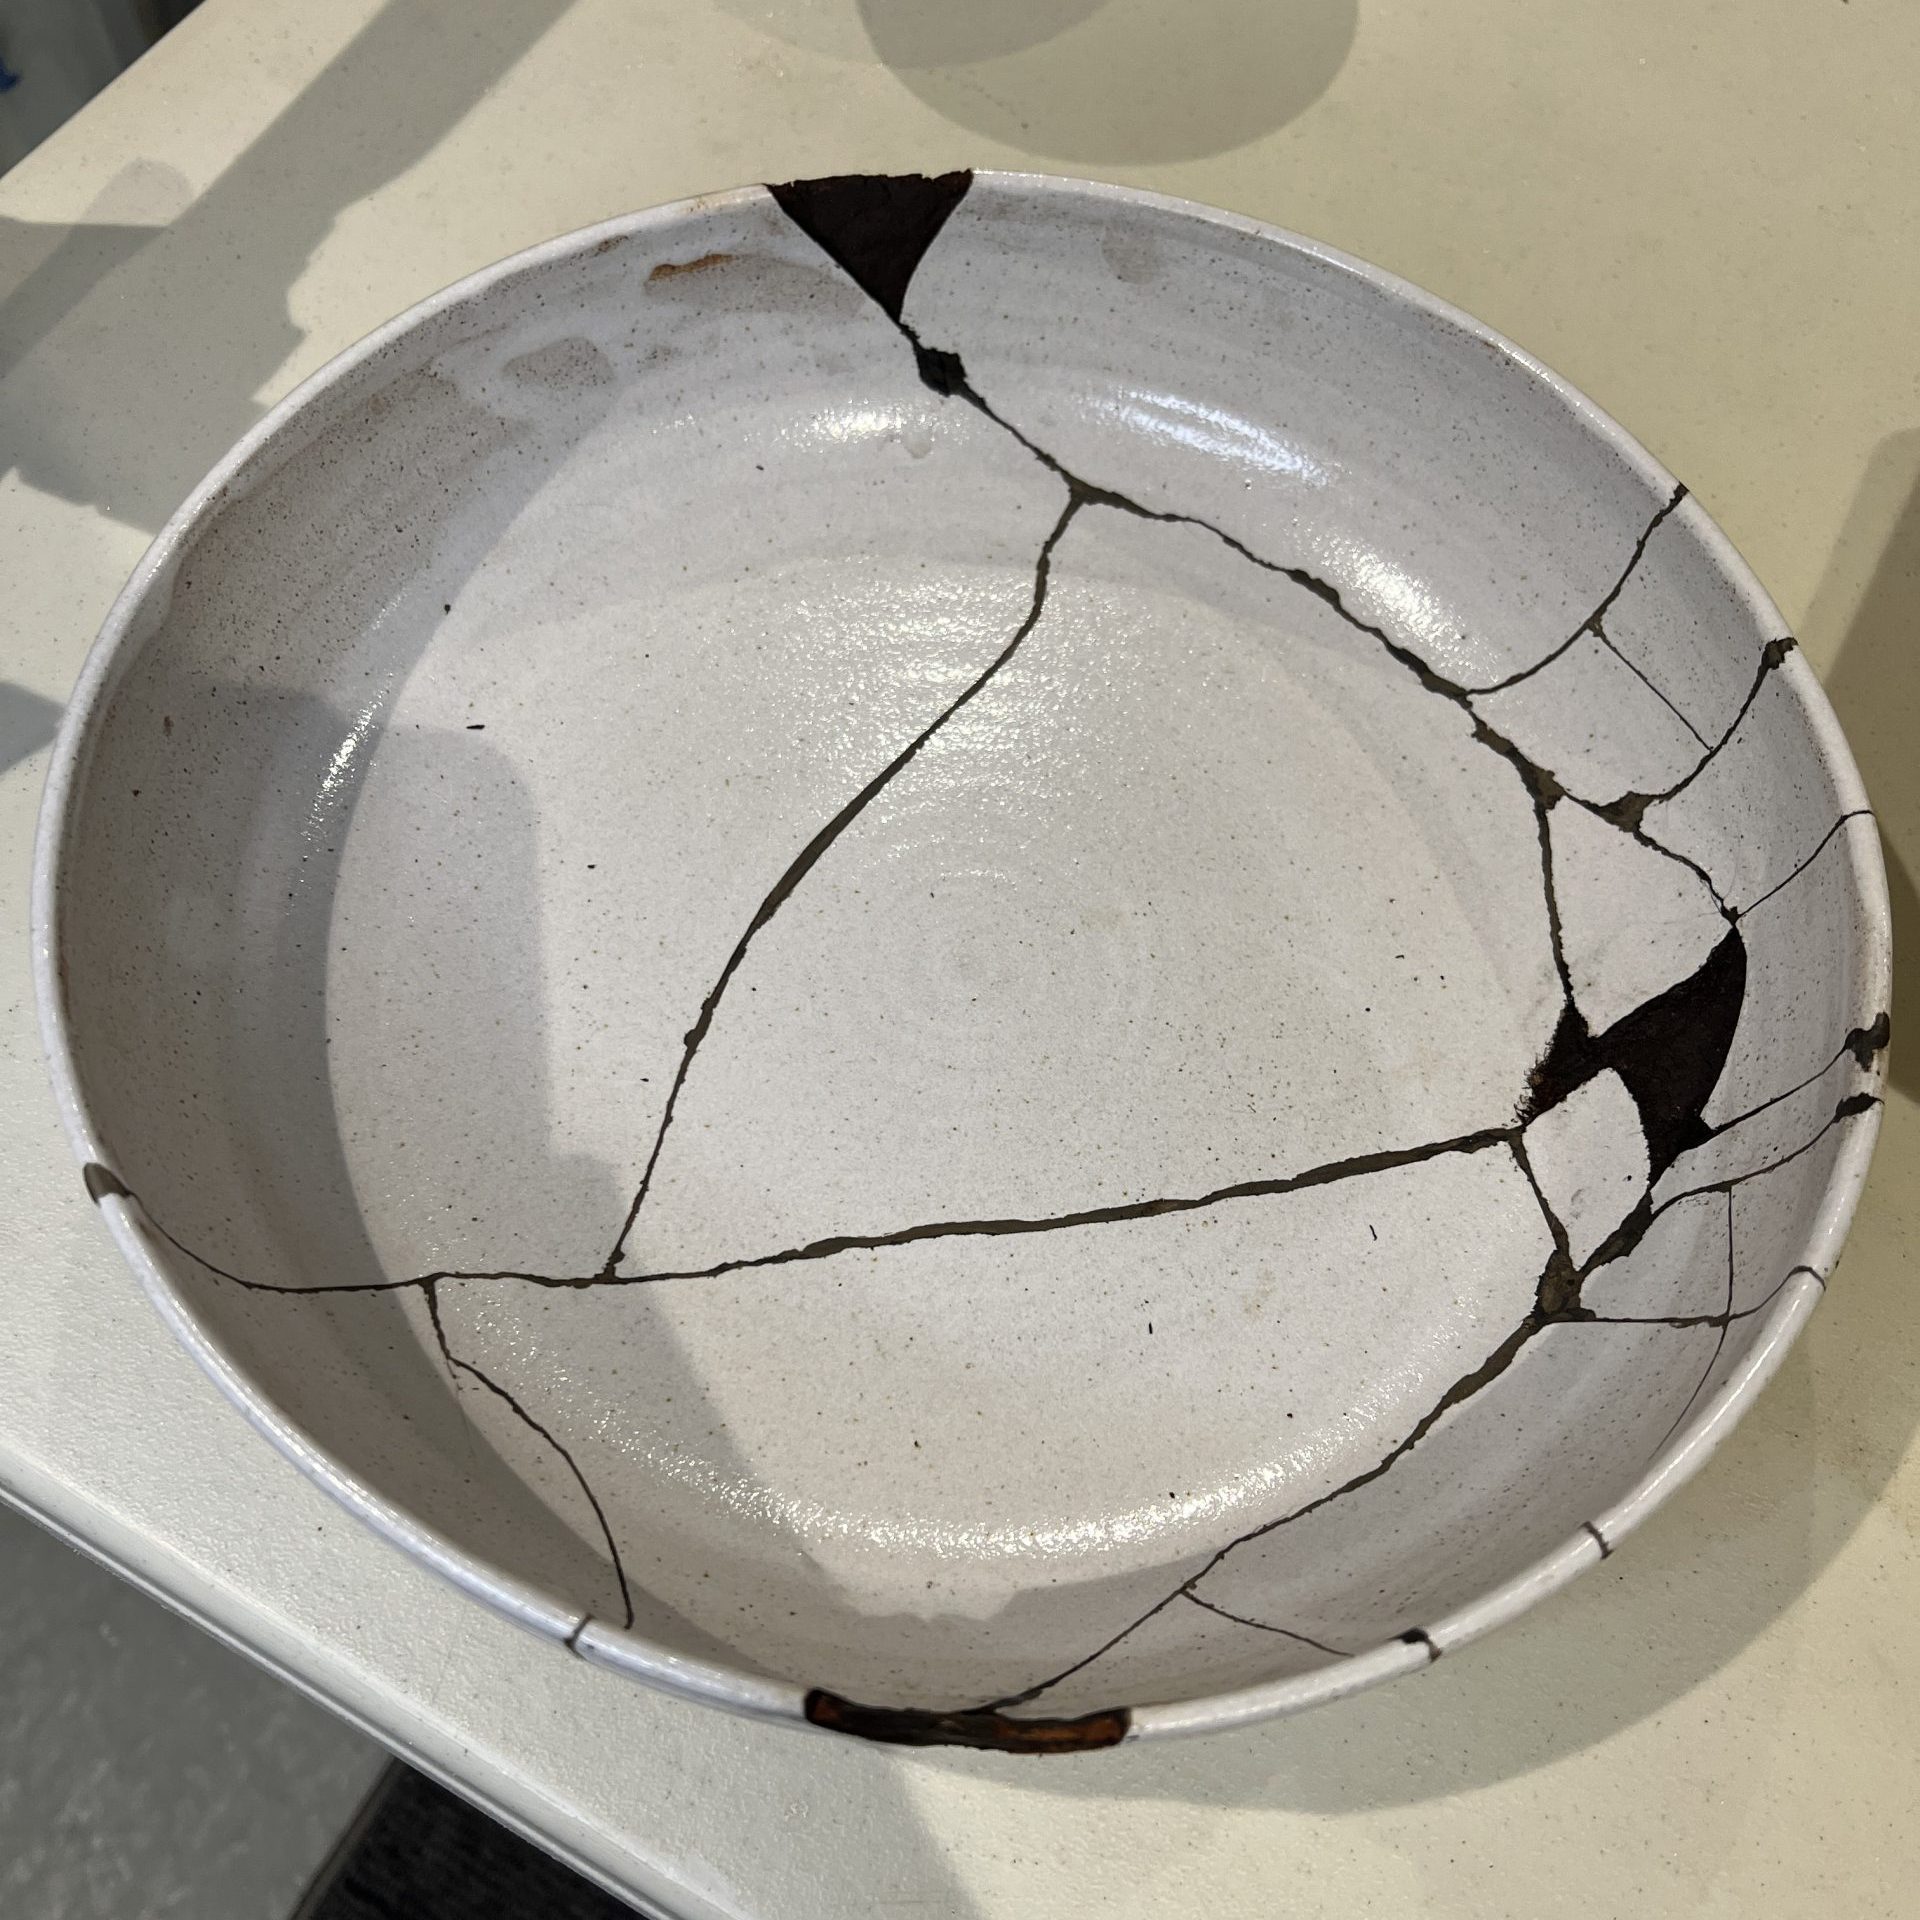
Large gaps now filled with kokuso, waiting for fine sabi urushi layer, then sanding
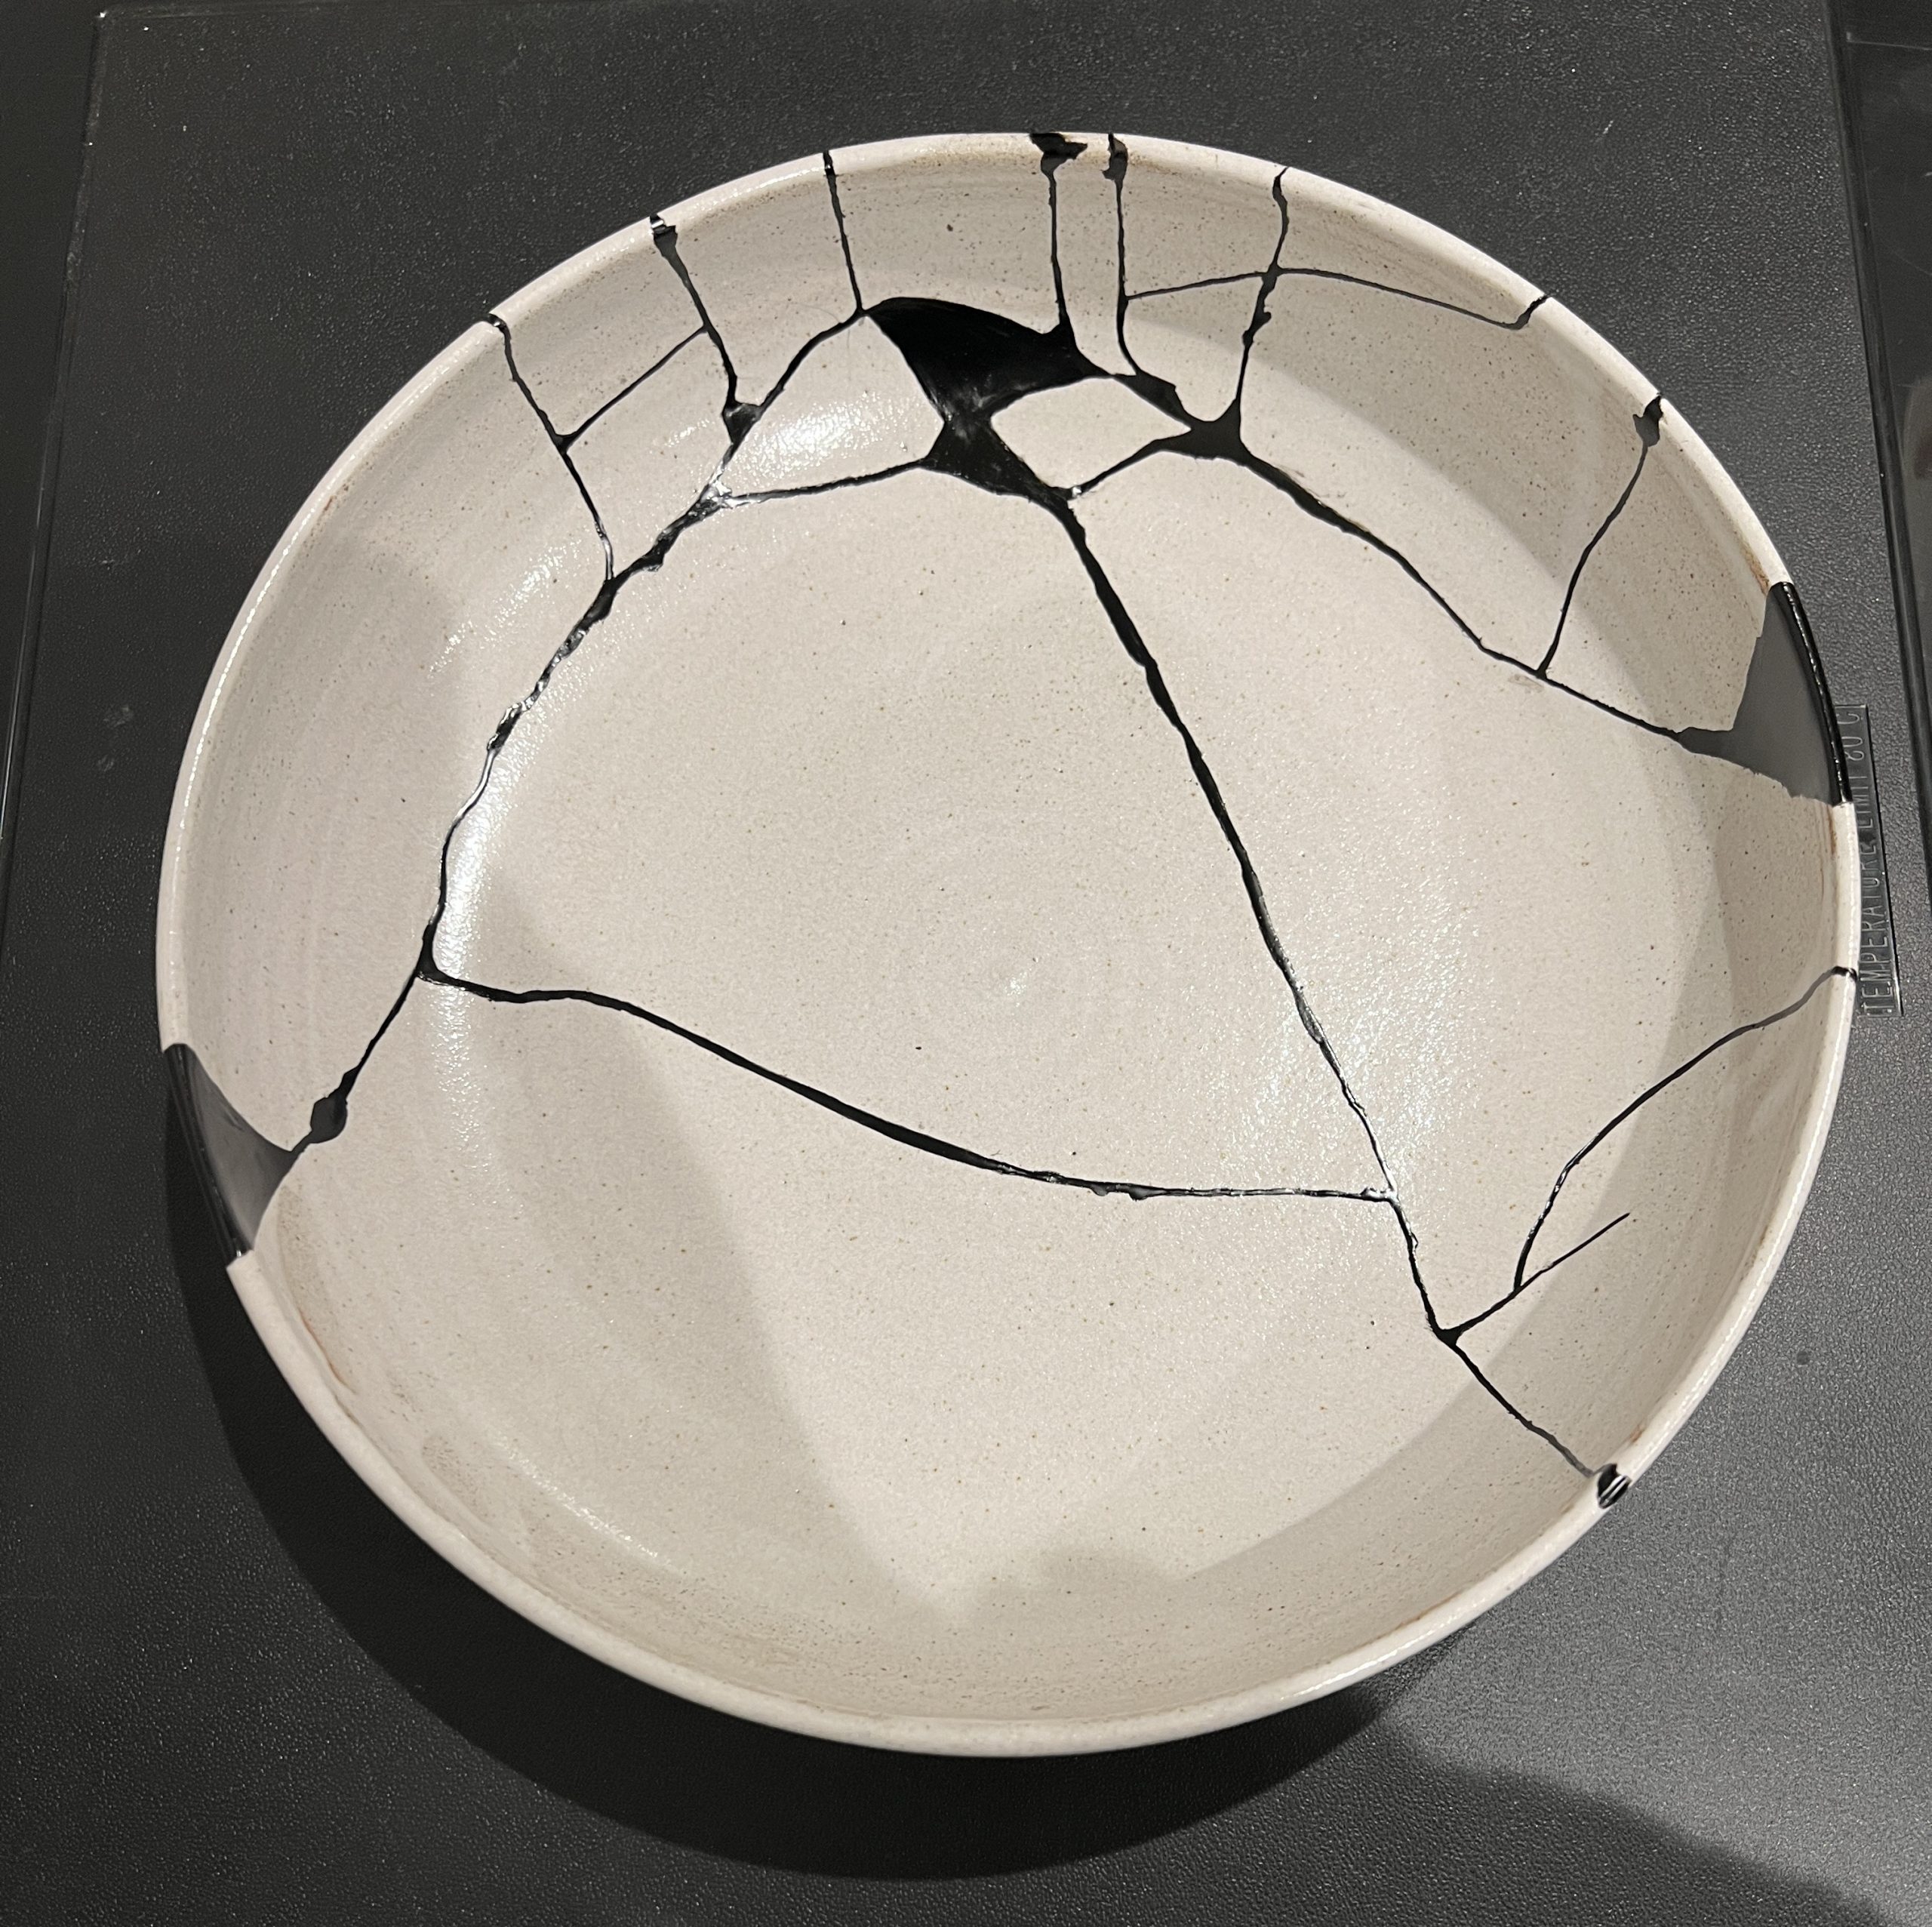
Glued, cracks and gaps filled, first layer of black urushi
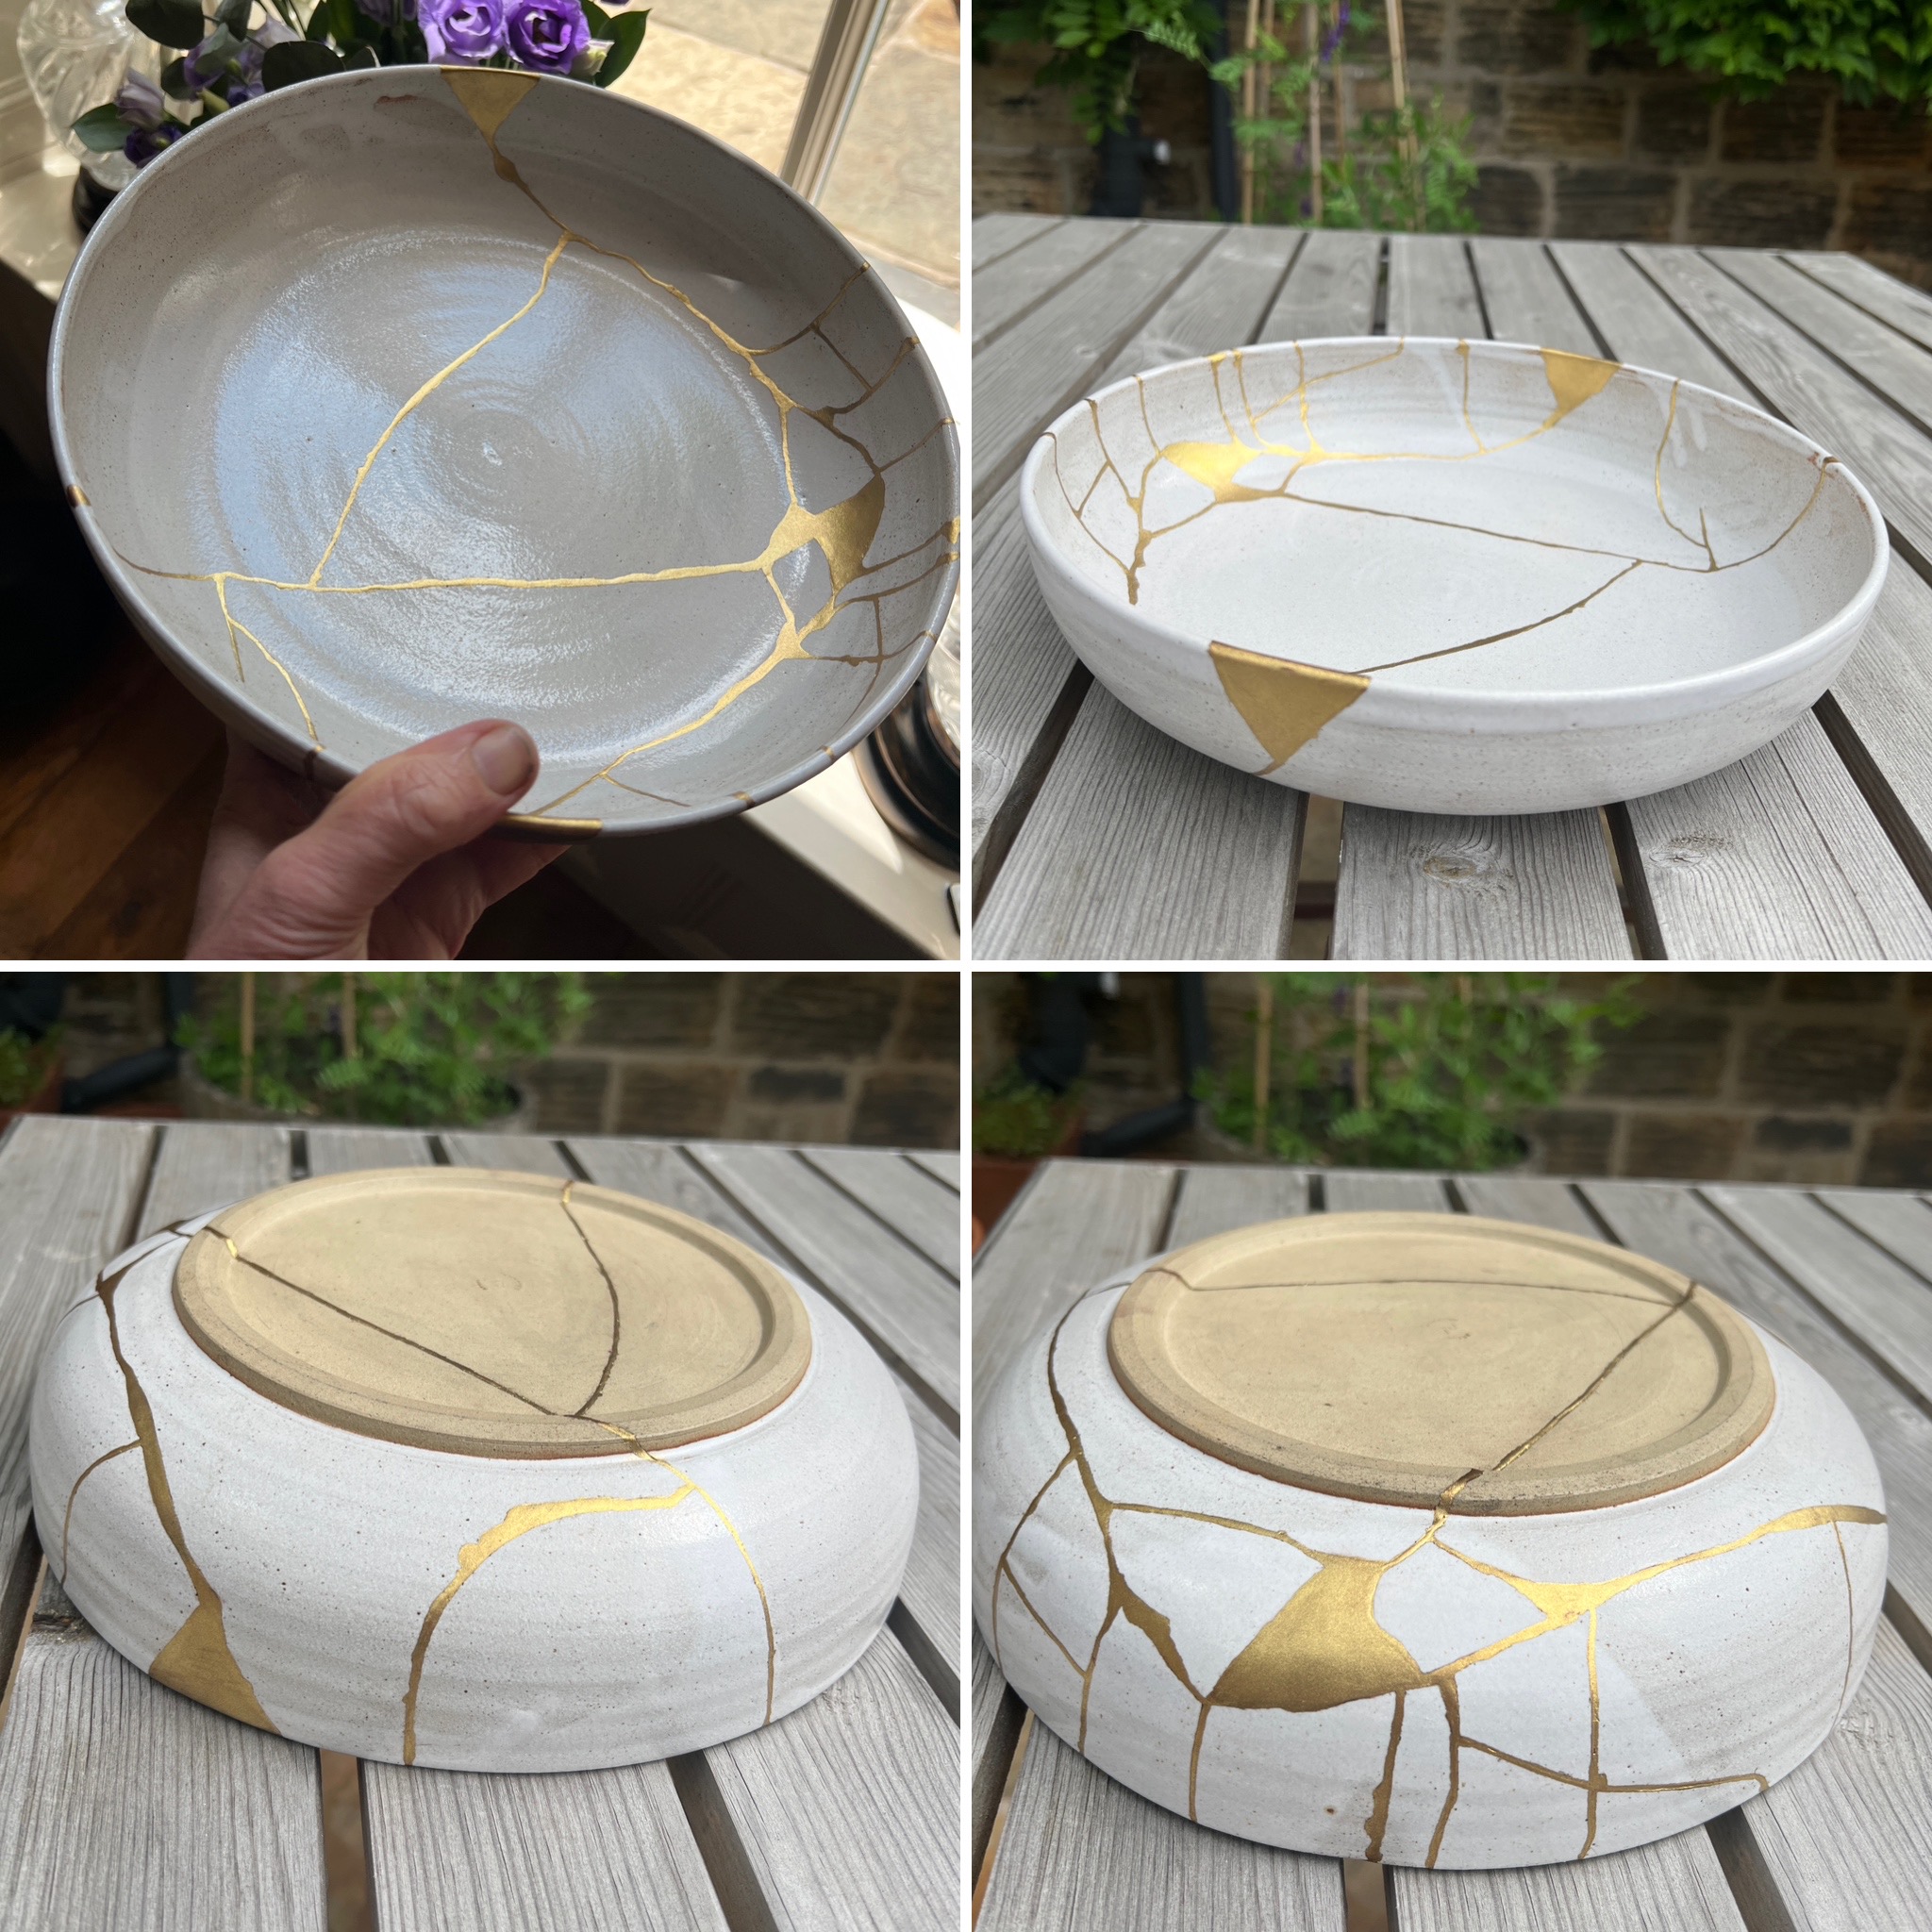
Repaired - beautiful bowl by Pottery West
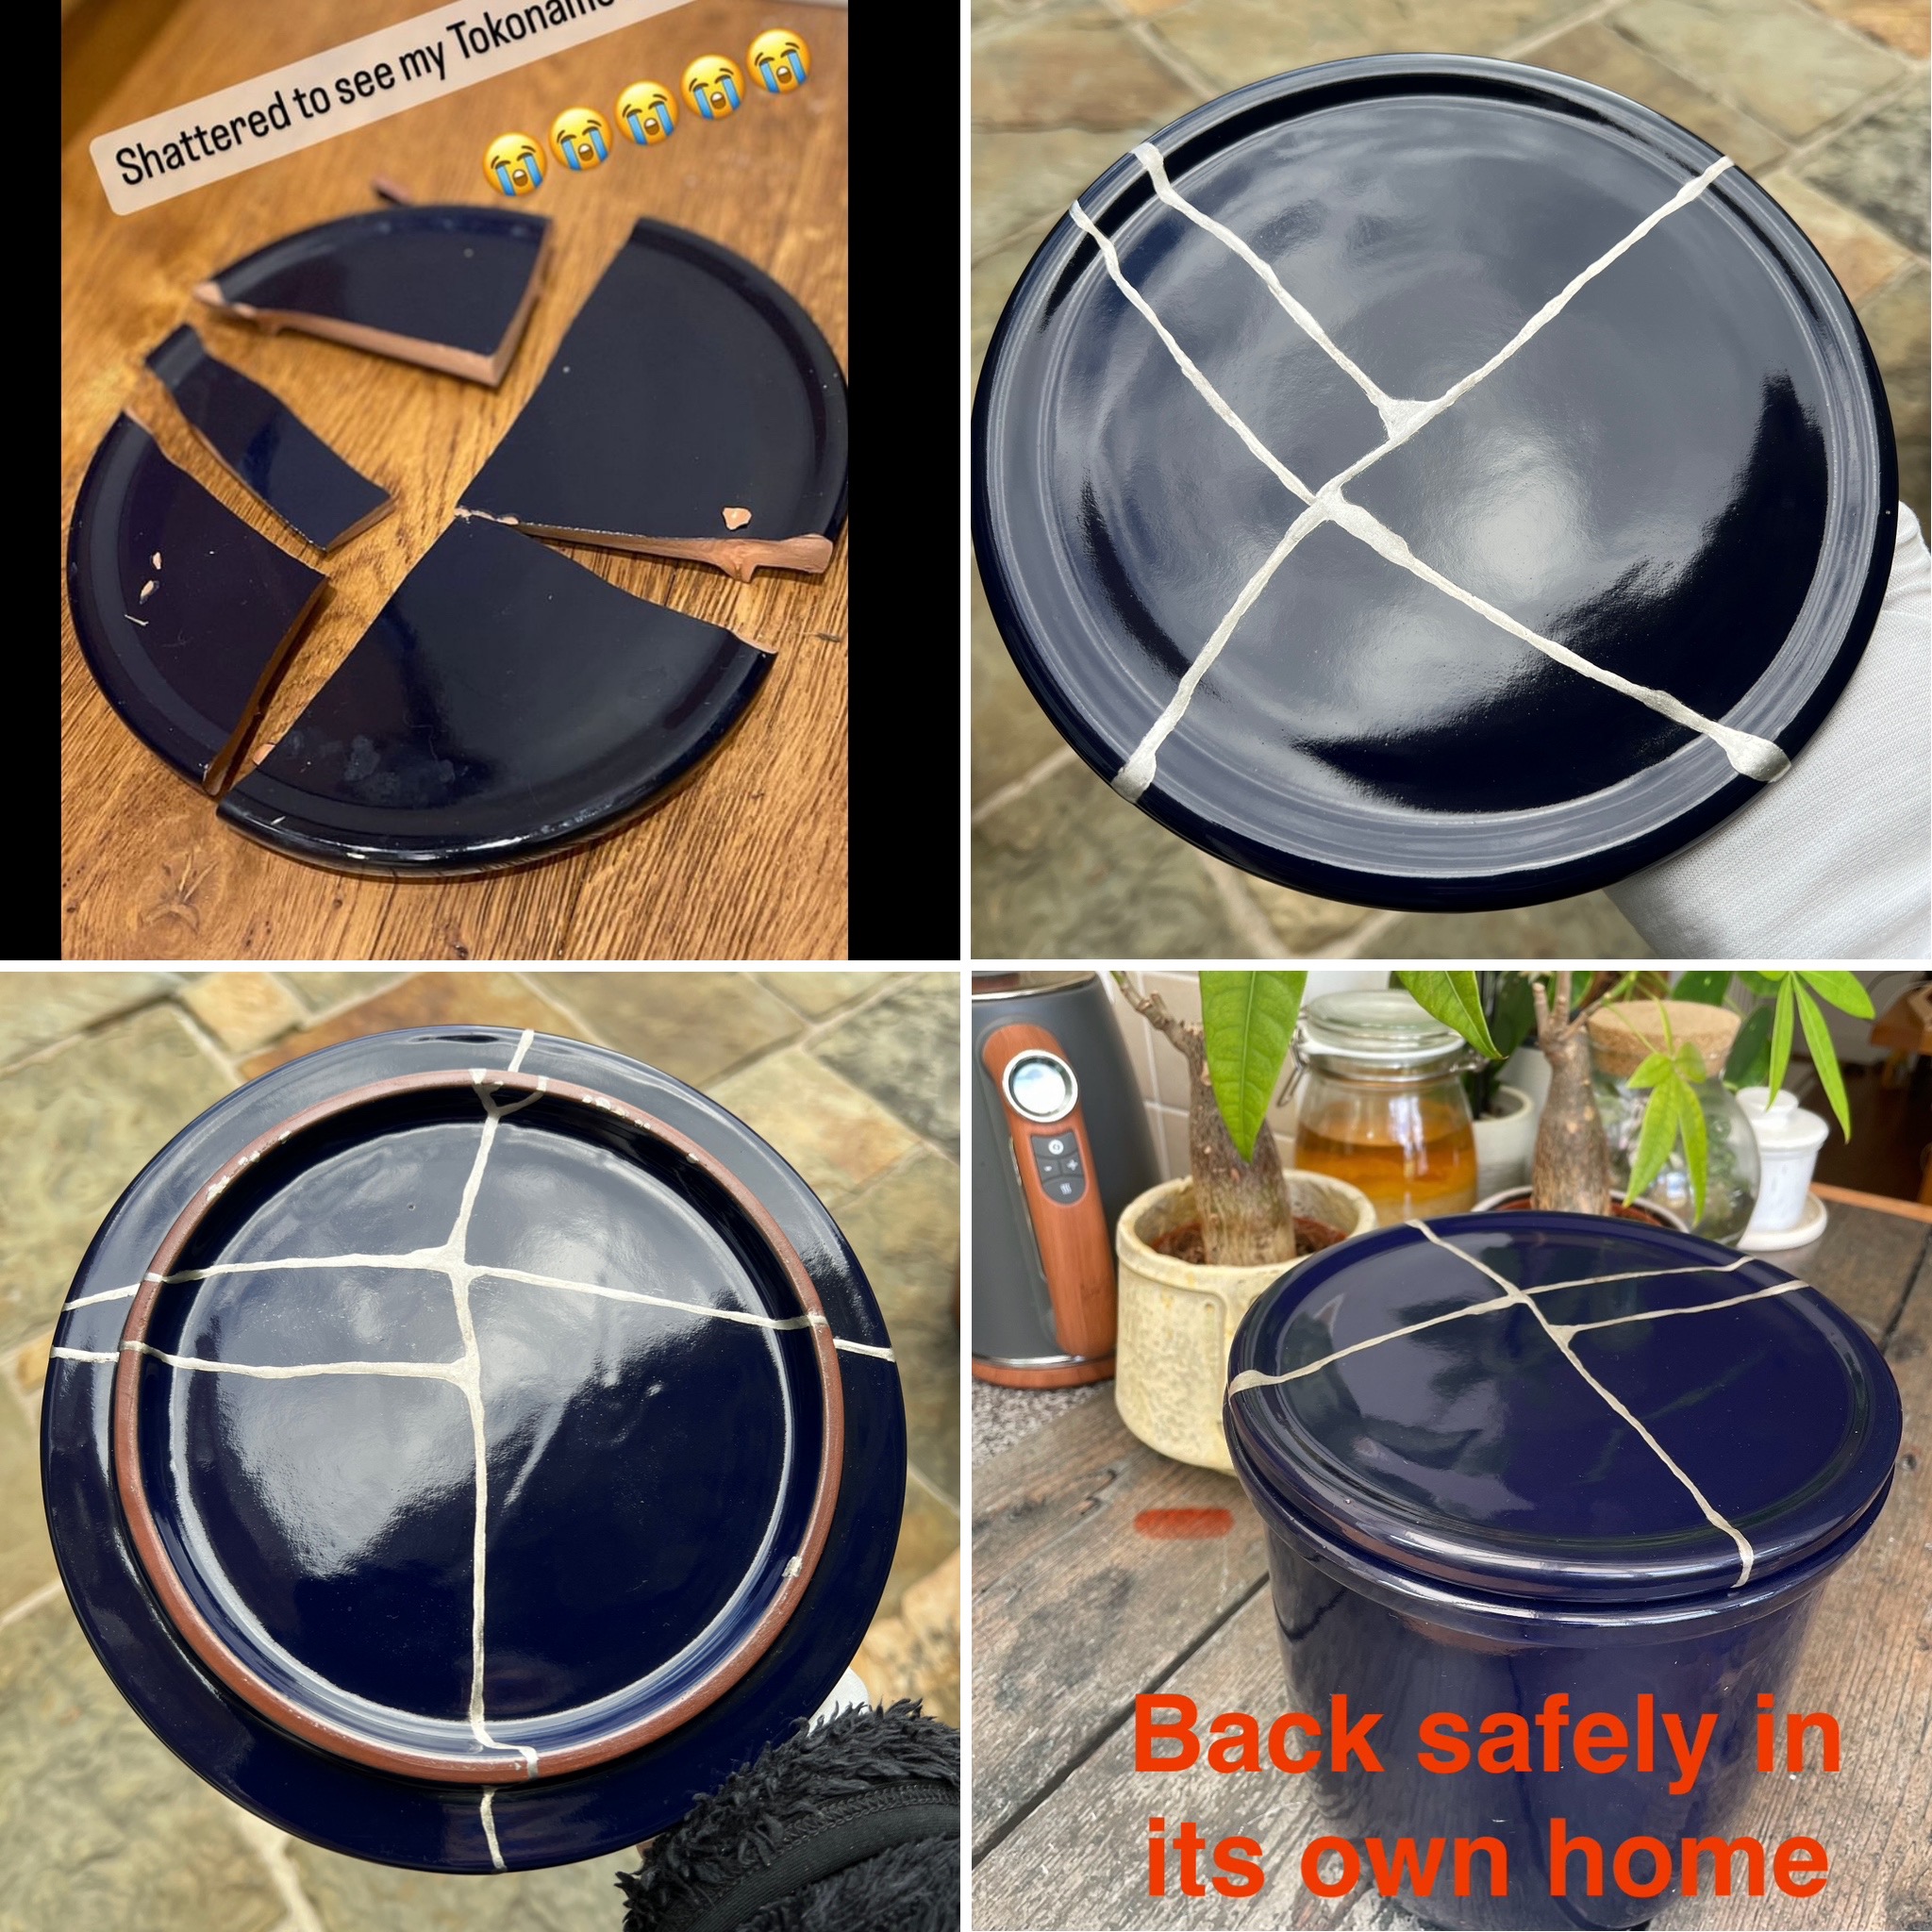
Tokoname lid
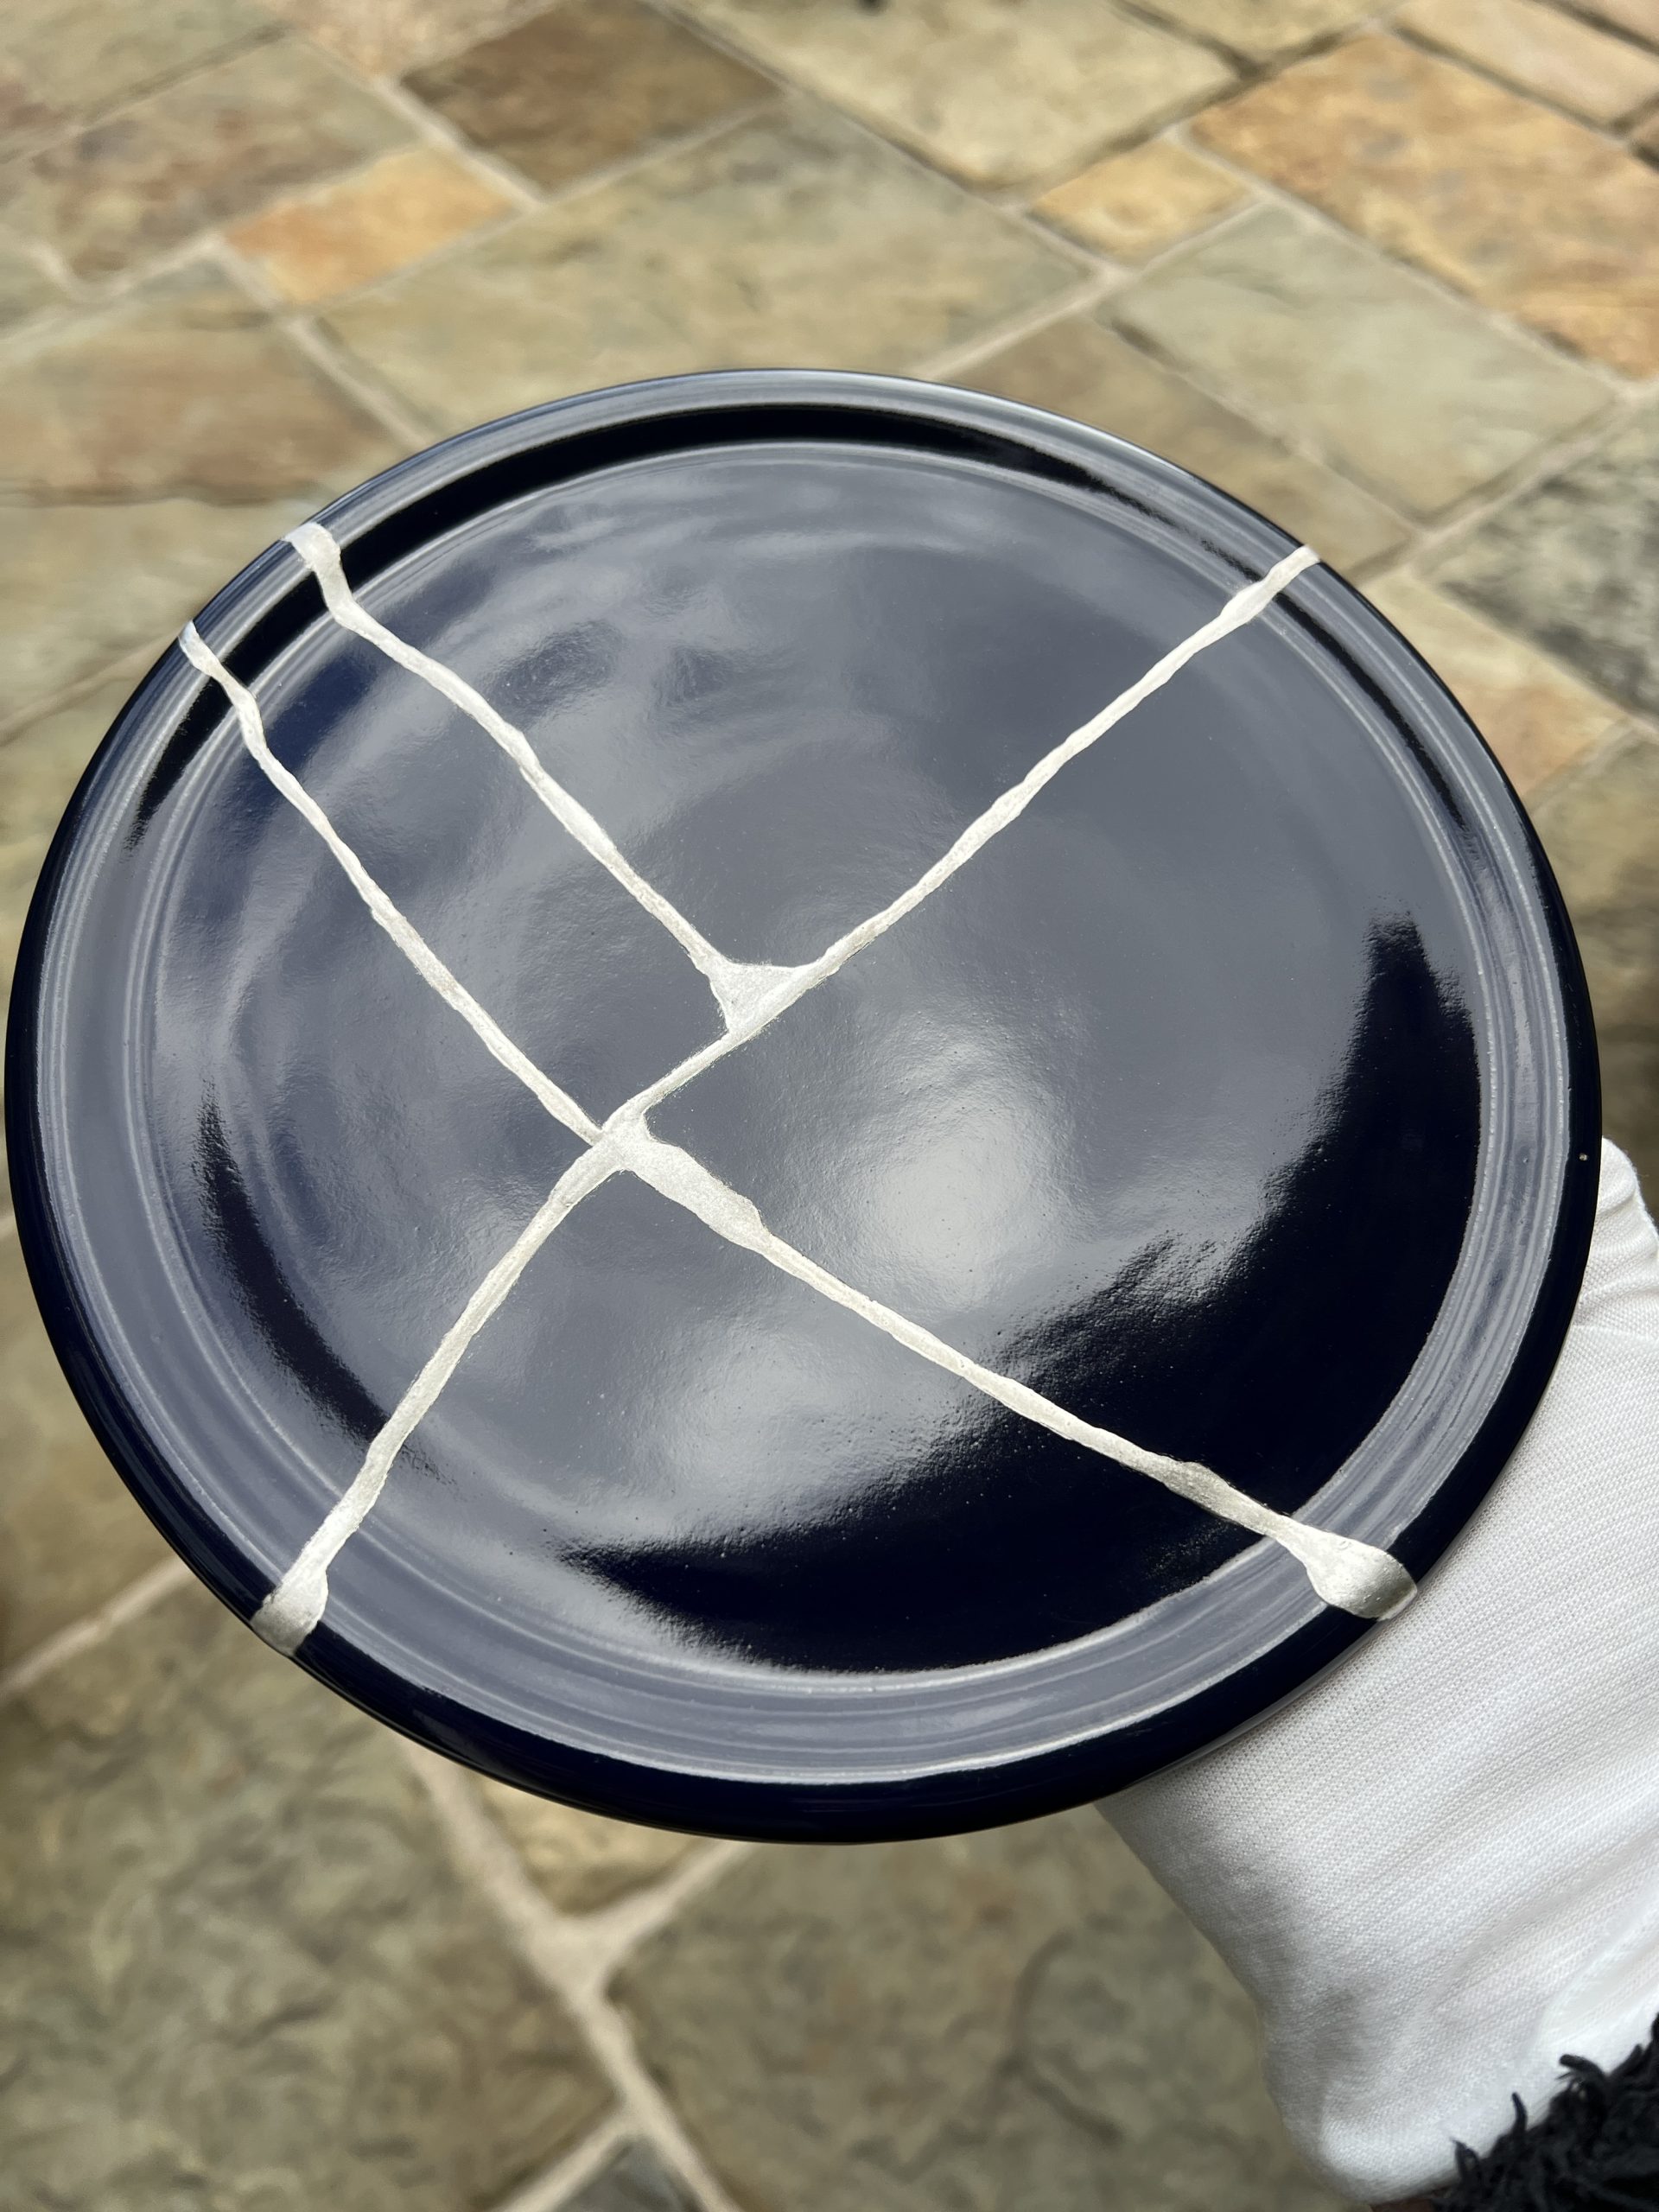
Tokoname lid repaired with silver, 'gintsugi'
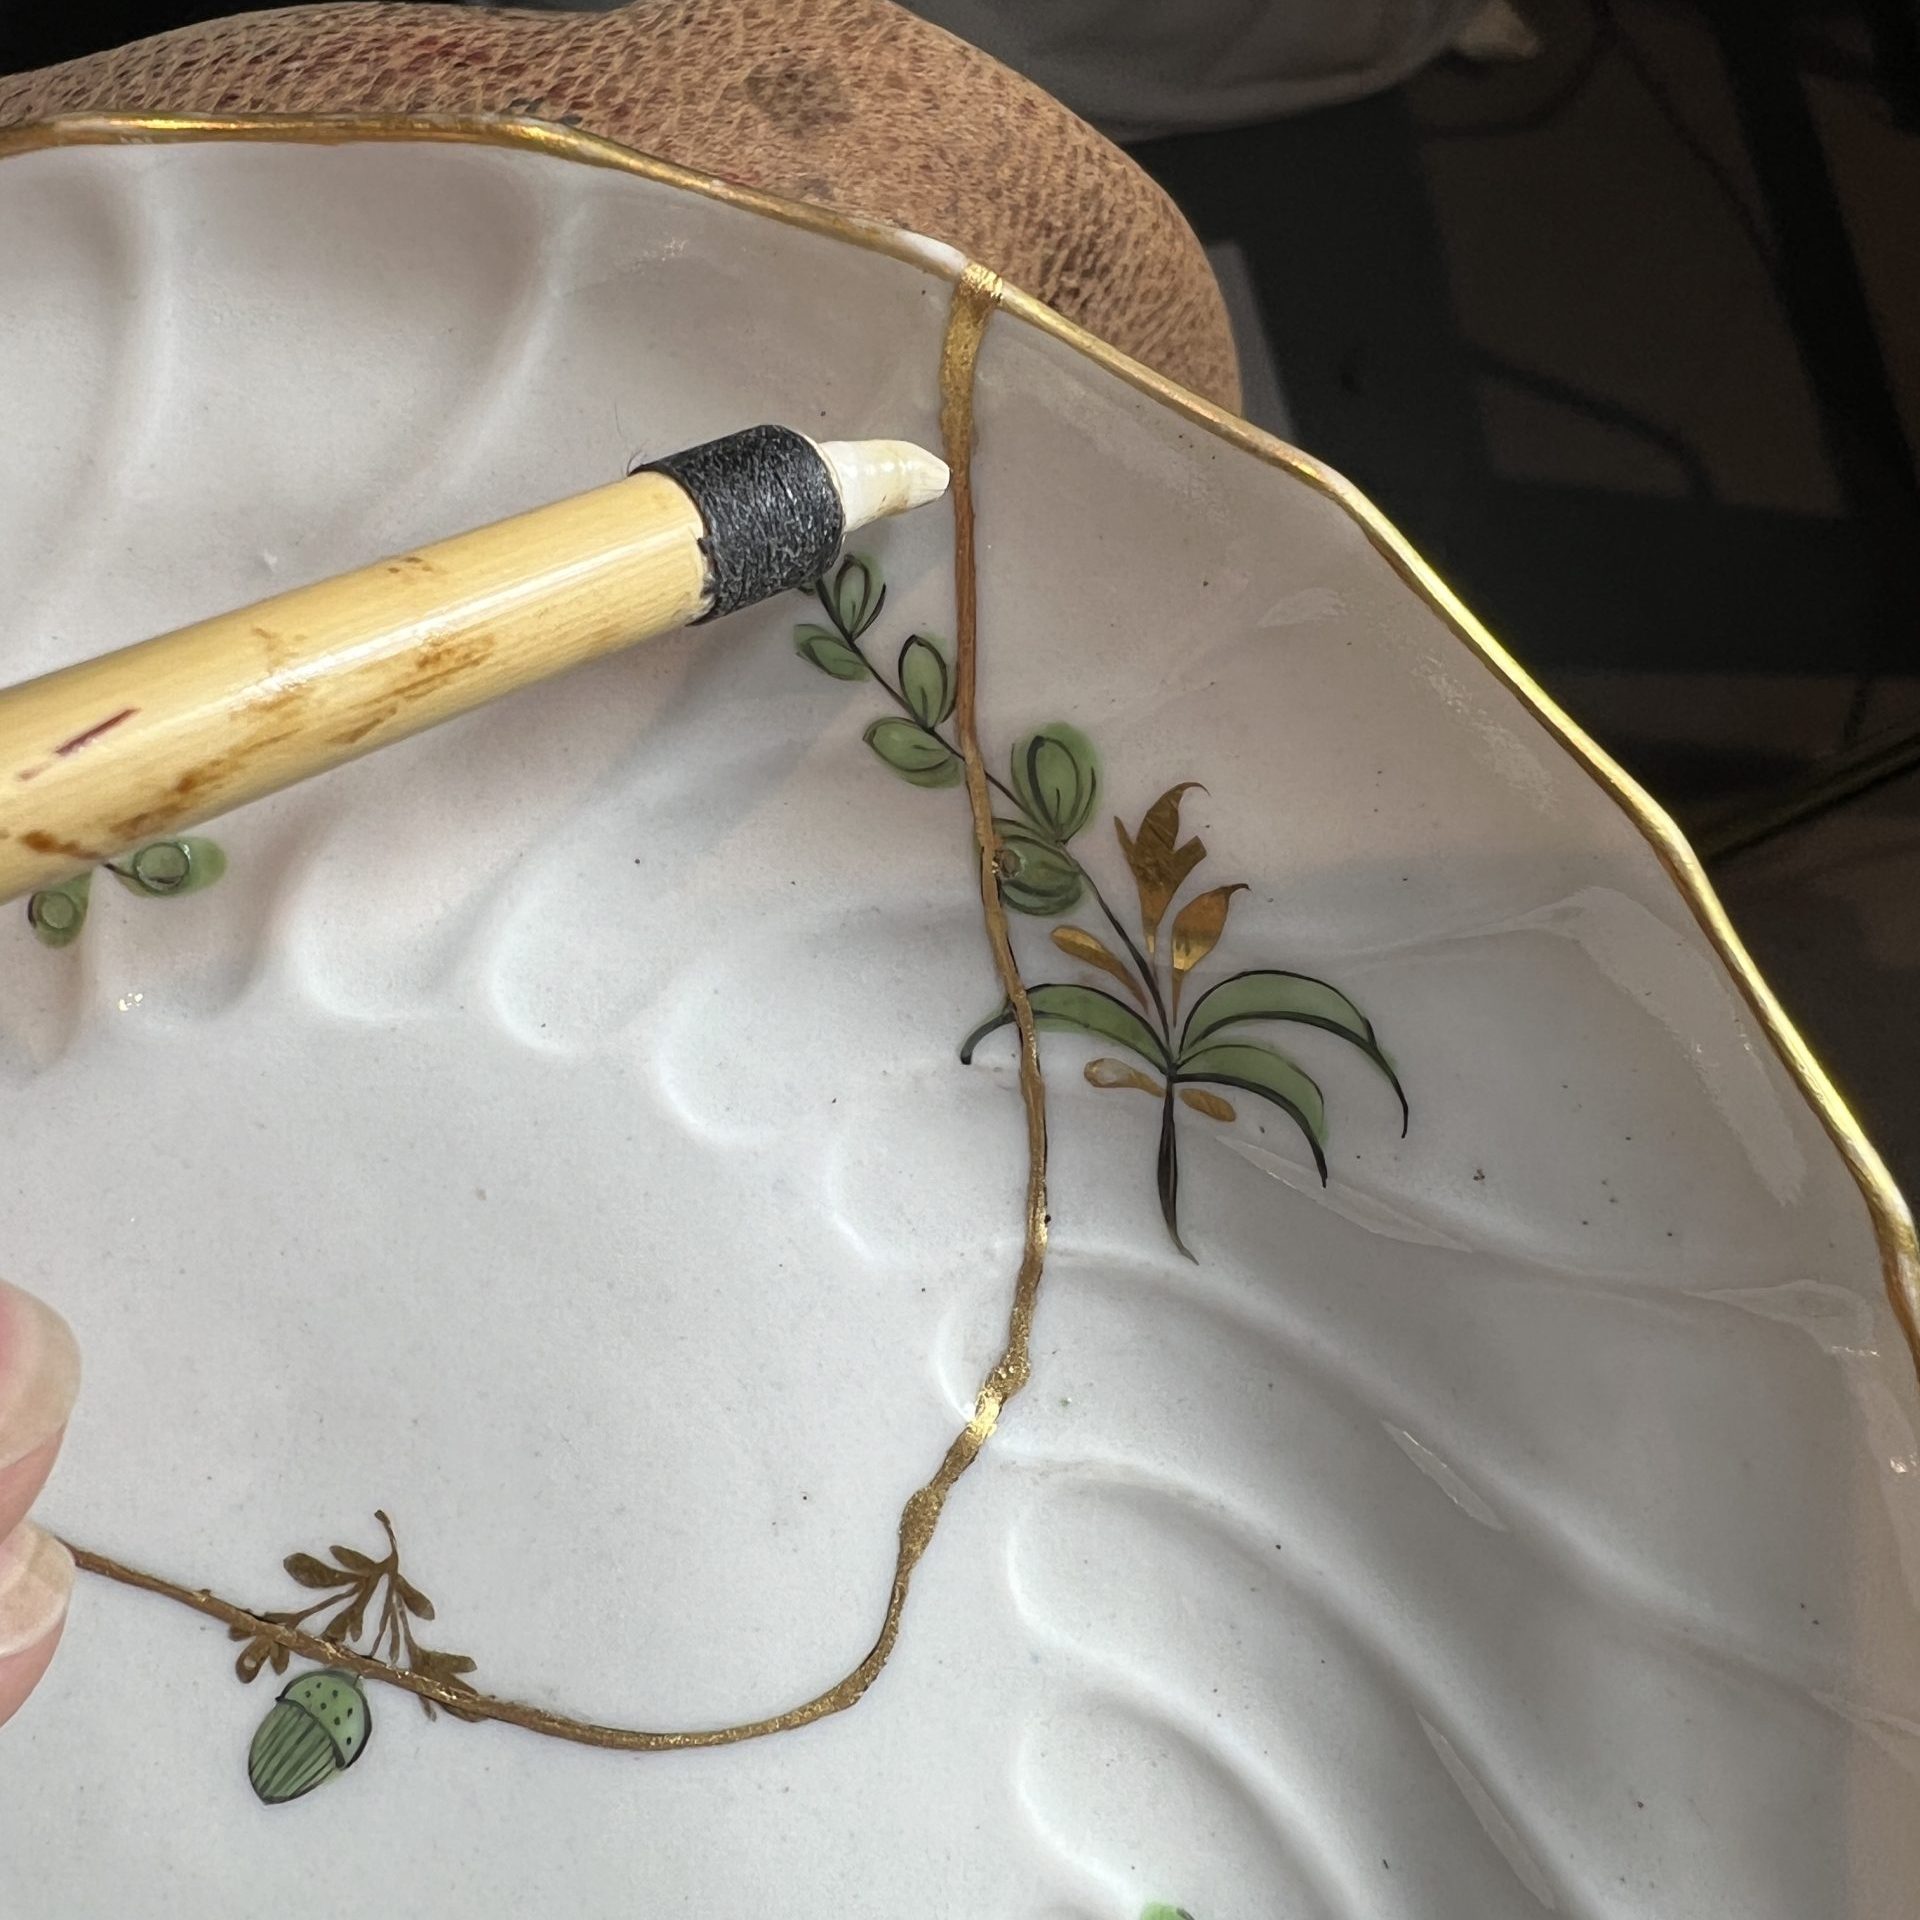
Burnishing the gold with a bream's tooth - you could also use agate to burnish.
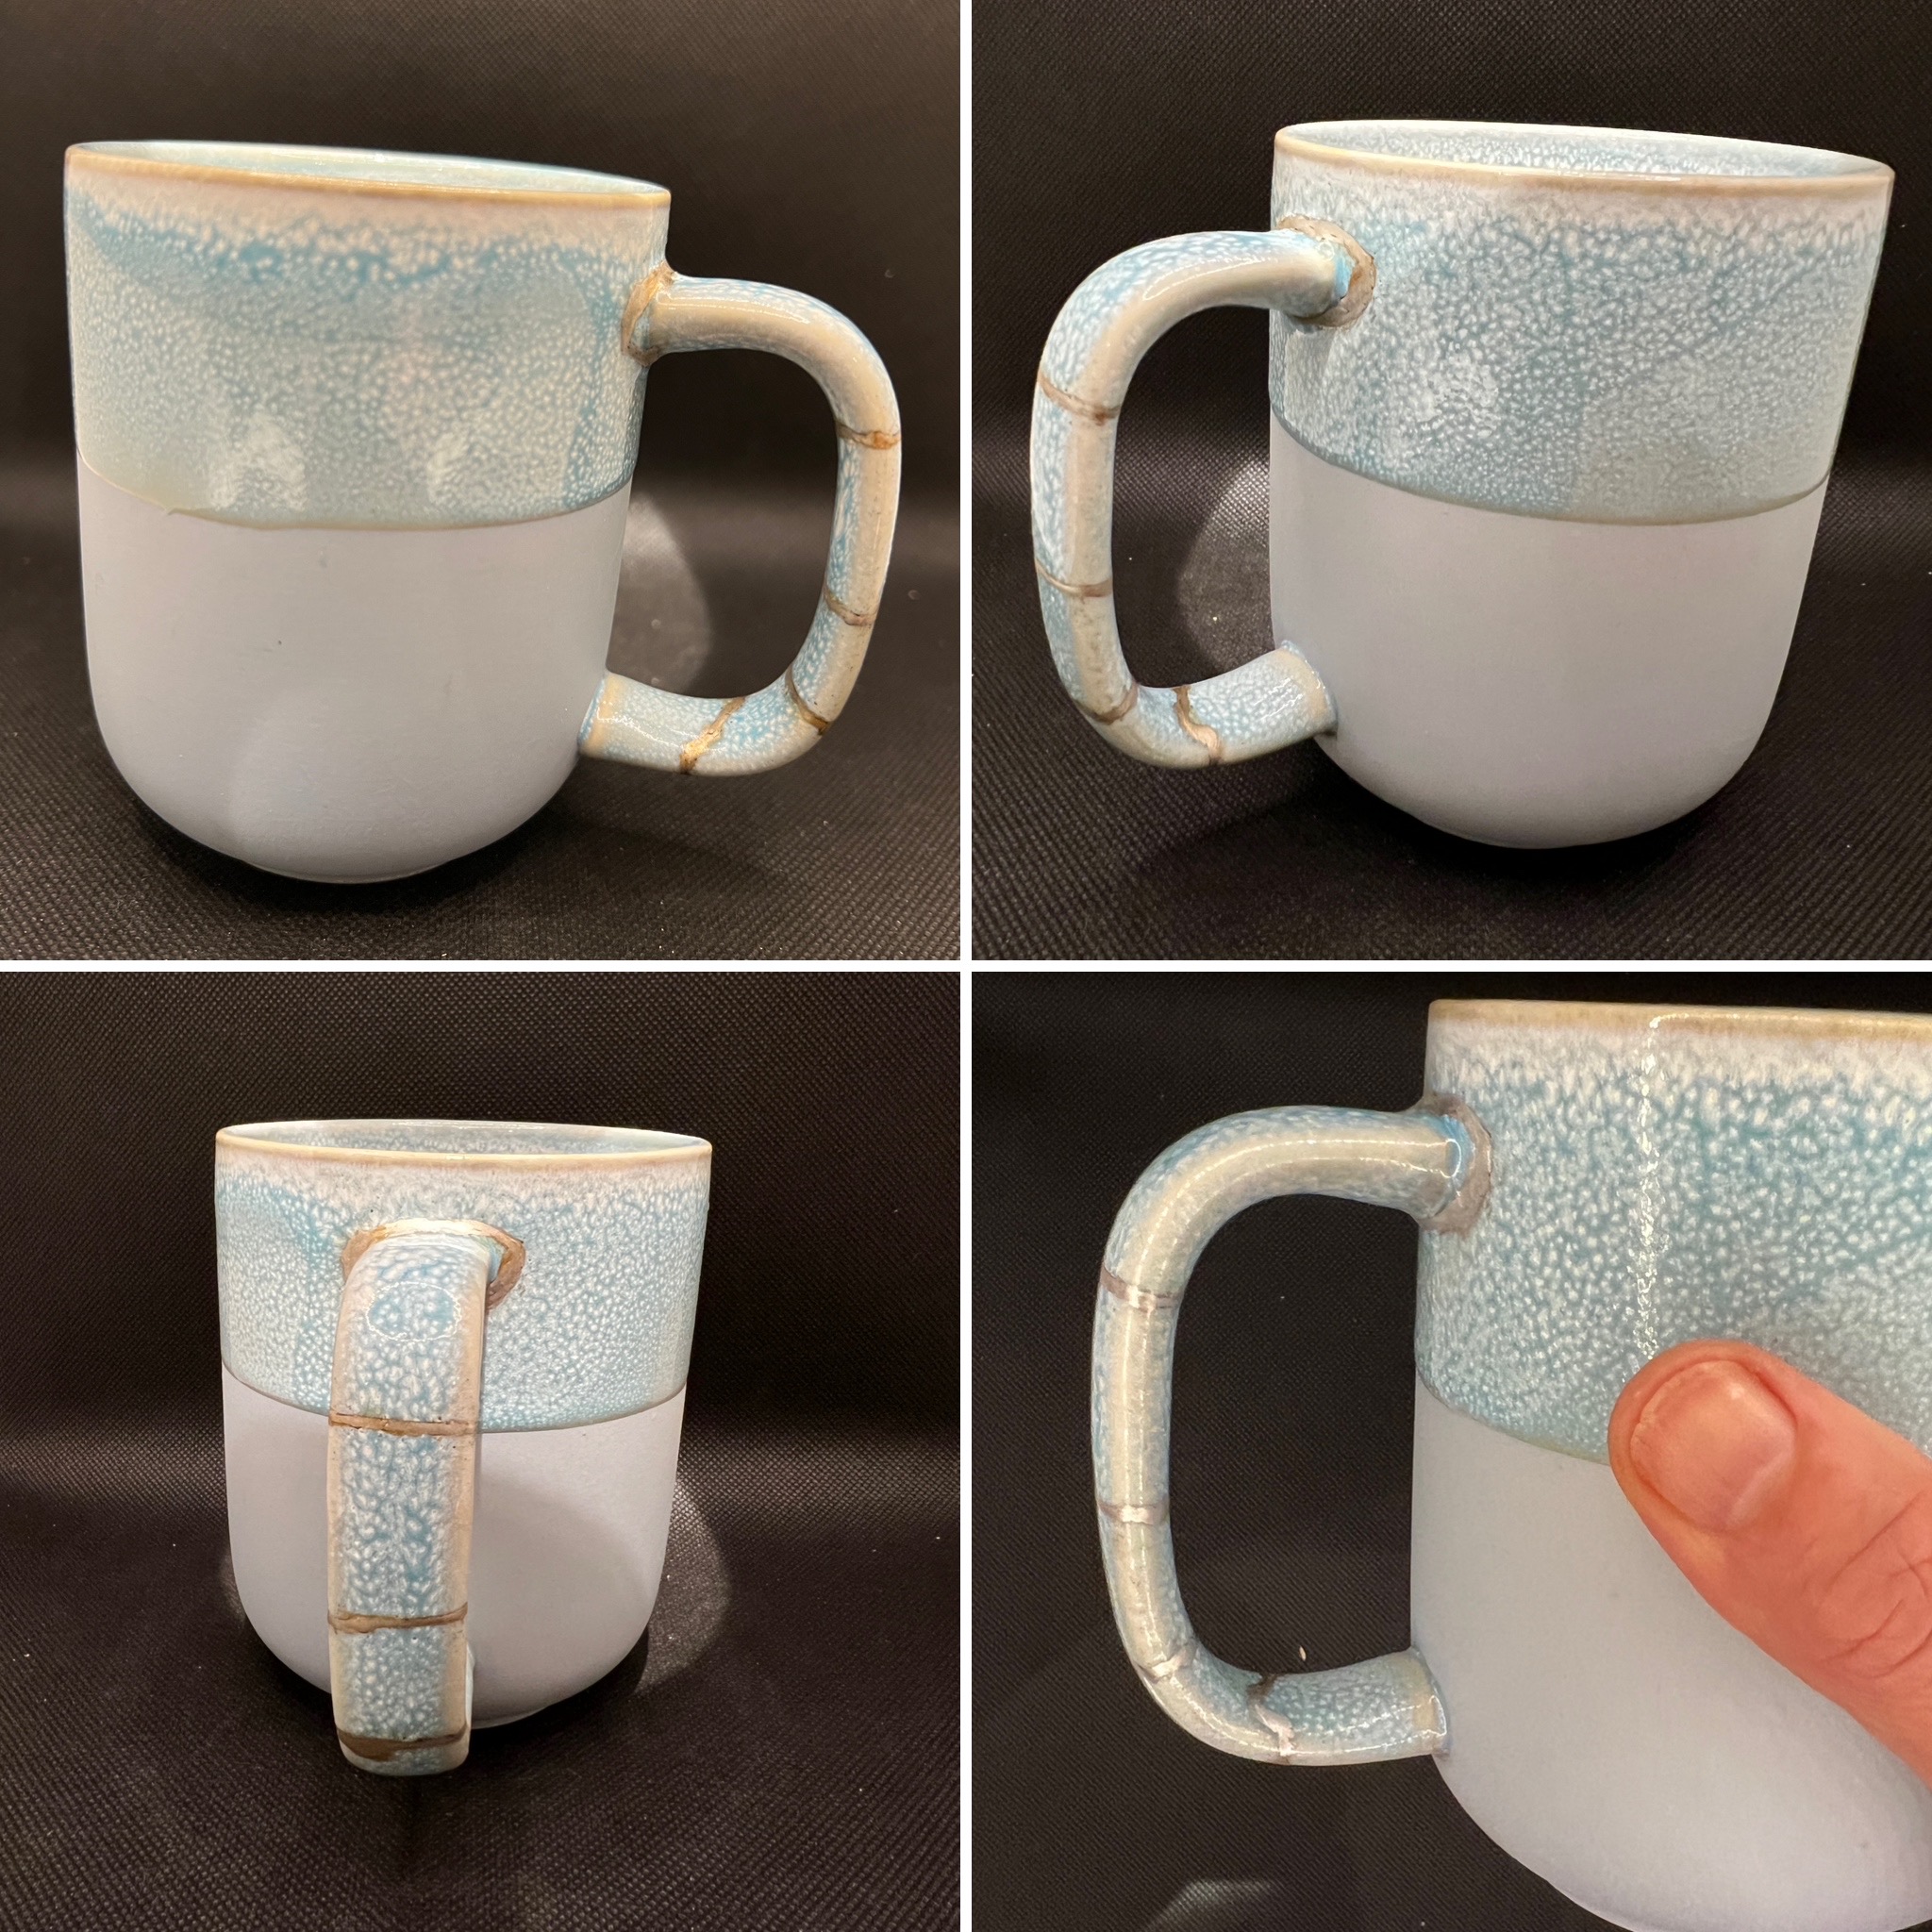
Mug repaired with silver, gintsugi.
Traditional kintsugi involves several stages and is not to be confused with ‘modern kintsugi’ which uses fast setting epoxy glues and resins. I am often asked what is involved and here I outline the basic process, the minimum that is involved when repairing objects with traditional kintsugi.
Every practitioner develops their own style, their own idiosyncrasies regarding how they do things, but fundamentally the basics are the same. Below I outline only the minimum that needs to be done, but there are many permutations, depending on the material of the piece and other factors:
Collecting the broken pieces
The broken pieces are carefully collected and cleaned.
Preparing the broken edges
The edges of each broken piece are prepared for glueing.
- This can involve very gently filing each edge.
- If porcelain, sometimes sizing and/or sealing the edges needs to be done before applying glue.
- You will also need to mask around the edges – this is essential if a piece is unglazed and often worth doing even if glazed.
This can be time consuming and what needs to be done varies from piece to piece.
Glueing – Mugi Urushi
Urushi lacquer is mixed with wheat and water to make a strong glue. To learn more about urushi click here.
- It is applied to the edges of the broken pieces, which are then joined together.
- Either tape or a band is used to keep the pieces in the correct position. It starts to cure overnight.
- Then the excess glue is cleaned up and the piece then needs to cure for a few more days
Building up where a piece is missing
If the gap is small and shallow, sabi urushi [see next step] can be used, but if the gap is large or deep, kokuso would be used to build it up.
- This is a coarse putty, made with rice flour, wood dust, sometimes hemp, powdered clay and raw urushi.
- When it cures, it becomes very strong and would be very difficult to sand.
- You always need to leave room for a layer of sabi urushi on top, so that the area can be sanded to create a smooth finish.
Filling in any gaps – applying Sabi Urushi
The next stage involves filling in any gaps along the break lines, or where a shallow piece is missing, with sabi urushi – a putty – to create a smooth, flush finish.
- A mixture of raw lacquer, water and finely powdered clay or ground stone (tonoko) creates a fine putty which is used to fill the seams. It fills any remaining gaps and strengthens the bond between what were the broken pieces.
- It then needs to cure – see Curing in the Muro below.
- This process often needs to be repeated more than once, sanding each time until you have a very smooth finish.
Curing in the Muro
Urushi doesn’t ‘dry’, it cures – and it cures by drawing moisture from the atmosphere. You need to create the right humidity and warmth.
- Traditional kintsugi pieces need to be placed in a curing cabinet, called a muro.
- The kintsugi artist has to control the humidity and temperature so that the urushi can harden. It is an art in itself.
- This curing process can take several days and is used at every stage hereon in.
Sanding
Once the sabi urushi has cured, the seams are carefully sanded to create a smooth, even surface. As mentioned earlier, the process may need to be repeated more than once. There are a number of options regarding what to use to sand:
- Different grits of whetstone, used with water.
- Sandpapers of different grades that can be used wet.
- Charcoal, but not any old charcoal. Sumi Togi is very special. You can see a video here about how it is made. [In order to watch the video you have to become a member of Goenne, but currently it is free to join].
- Also available these days are super soft products such as assilex [this is not a recommendation] that come in different grades.
How you sand, what you use, is dependent on the piece you are repairing, what it is made of, whether it is unglazed or glazed and a number of other factors.
Application of base and intermediate [nakanuri] layers of urushi lacquer and curing in the Muro
Once all the glueing and filling has been completed, layers of high quality lacquer are applied over the repaired lines and larger areas, to prepare them for the final stage, when the metal powder is added. Black lacquer is often used, but you can alternate with red lacquer.
- Each time a layer of lacquer is applied, the piece is then placed in the muro to cure, which would take a few days, or longer.
- Once cured, the lacquer is sanded to ensure as smooth a finish as possible. This stage may need to be repeated several times, depending on the repair and the piece.
- This process of application, curing, sanding, repetition ensures durability and is to build up the desired thickness and best possible smoothness before applying the final layer and finish.
To learn a little more about the different types of lacquer: raw, red and black, click here and scroll to the bottom of the page.
Applying the final layer of urushi lacquer
The final layer of lacquer is applied over the repaired areas to enable the metal powder to adhere.
- If you plan to use gold or brass, you apply red lacquer [bengara]. There are many different types of gold powder that can be used. To learn more about gold and kintsugi click here.
- If you plan to use silver, you apply black lacquer. Kintsugi using silver is called ‘gintsugi’.
Application of Metal Powder
This is one of the trickiest parts of kintsugi – the final layer of lacquer has to be just the right consistency for the powdered gold, silver or other metal to adhere properly.
- Judging the right time is not an exact science – you have to allow the urushi lacquer to cure just long enough to be the right viscosity. What makes this complex is the changing atmosphere: humidity and temperature varies throughout the year. It will involve different lengths of time, depending on the seasons. Over time, with much trial and error, you learn to recognise when the lacquer reaches the perfect moment, the optimum time to apply the metal powder.
- Brass is a very light material and is the easiest to apply. You don’t need to wait long for the lacquer to be the right consistency and it rarely fails.
- Applying either gold or silver is more difficult. Both metals are heavier and if you apply them too soon, the gold or silver powder sinks into the lacquer and the effect is lost. If you wait too long, the metal powder doesn’t adhere and will simply wipe off.
- Judging the right time is an art.
Final Curing in the Muro
The piece is placed in the muro one last time to ensure the lacquer and metal have fully hardened. This may take a few days or a few weeks.
Optional: a final sealing lacquer can be applied
With certain metals, you can apply a sealing lacquer to protect the metal – this can slightly darken the metal, giving it an antique look.
Burnishing (if applicable)
In some cases, gold or silver can be burnished to enhance their luminosity. Traditionally, kintsugi artists use a sea bream tooth to burnish, but you can also use agate.
There are therefore a minimum of 10 stages for each piece; more often there are many more.